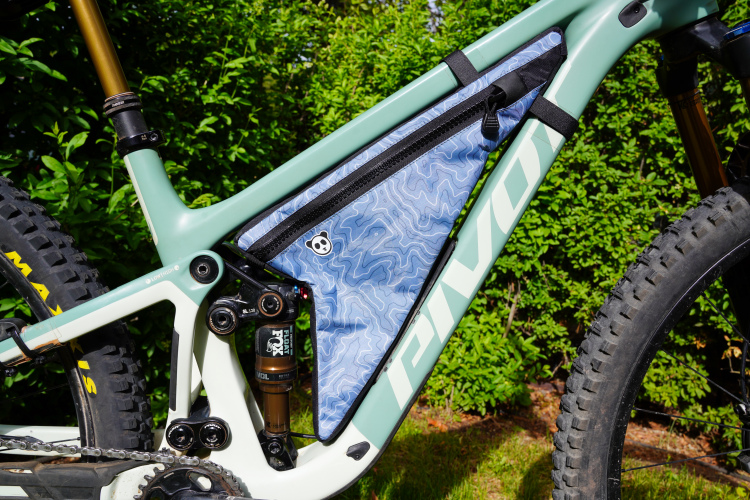
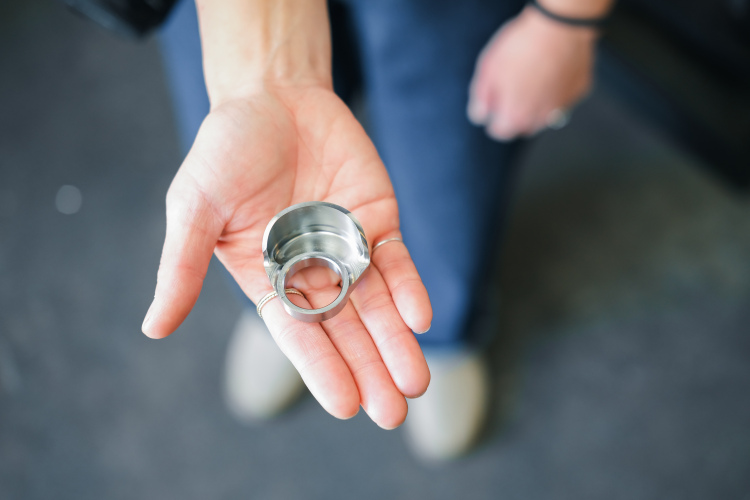
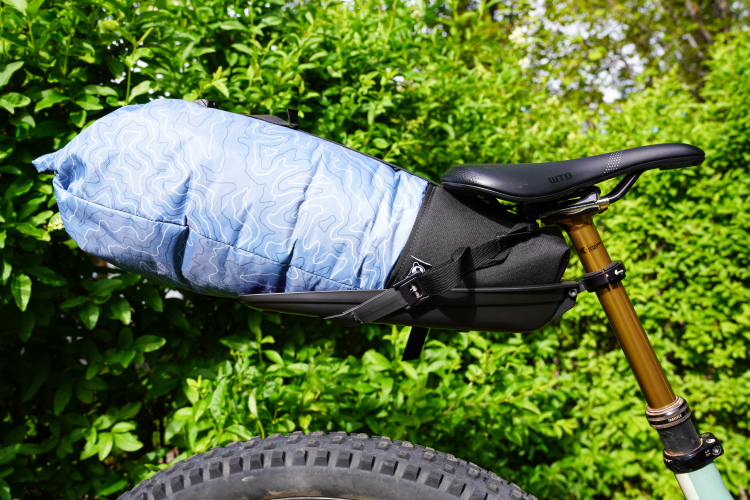
There's nothing else quite like the Rogue Panda Ripsey. Here's how this unique bikepacking seat bag cradle performed in the wild.
A phased proposal could grow Ponderosa State Park's bike trails by nearly 50%, adding about four miles of purpose-built singletrack to ease crowding near McCall.
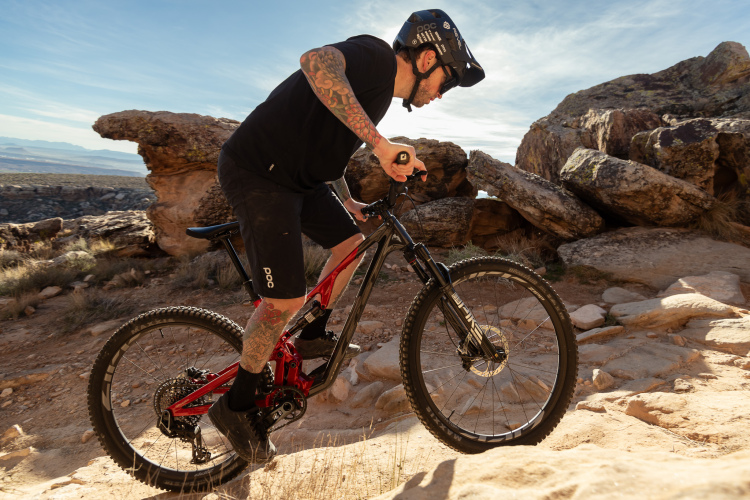
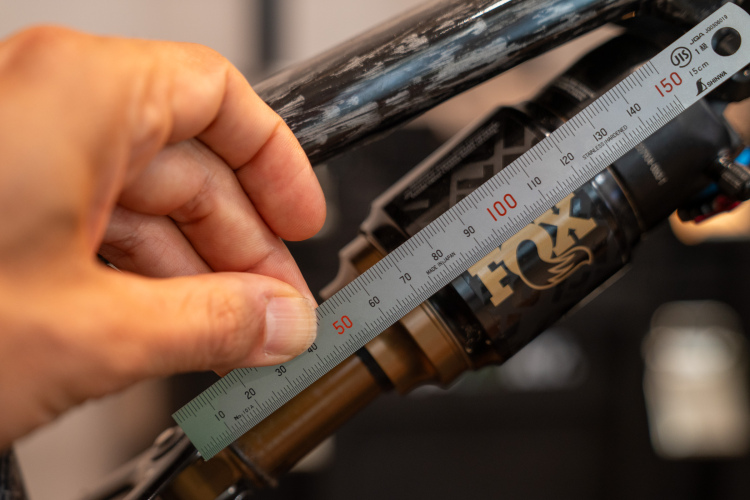
Trail bikes represent a broad category of mountain bikes so we're curious how much travel your "trail bike" has.
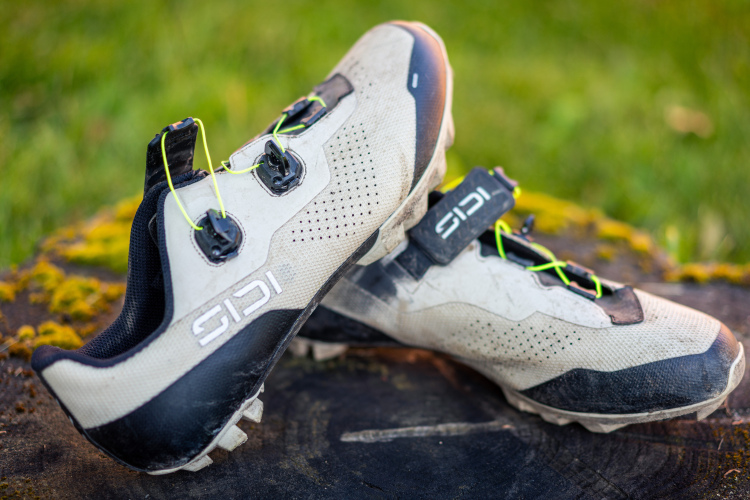
The Sidi Dominator X offers precise fit adjustment through dual rotary ratchets, balancing stiffness and comfort in a durable XC race shoe.
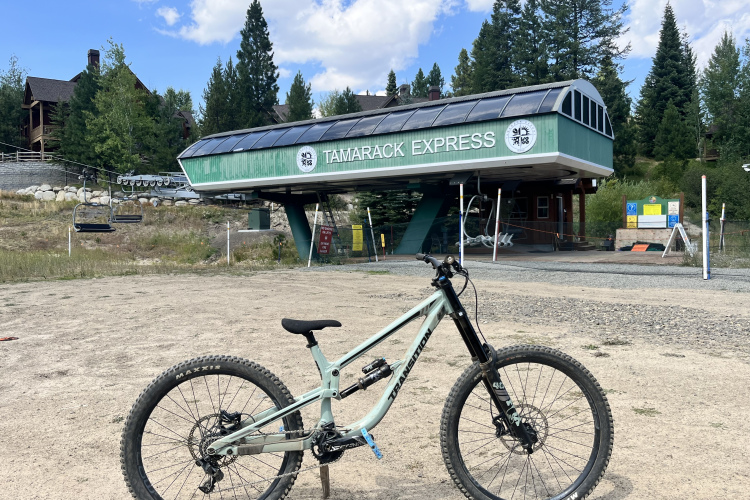
Tamarack Resort's bike park lift sustained damage from a Memorial Day windstorm, requiring a tower replacement and delaying reopening of the Idaho park until mid-June or early July.
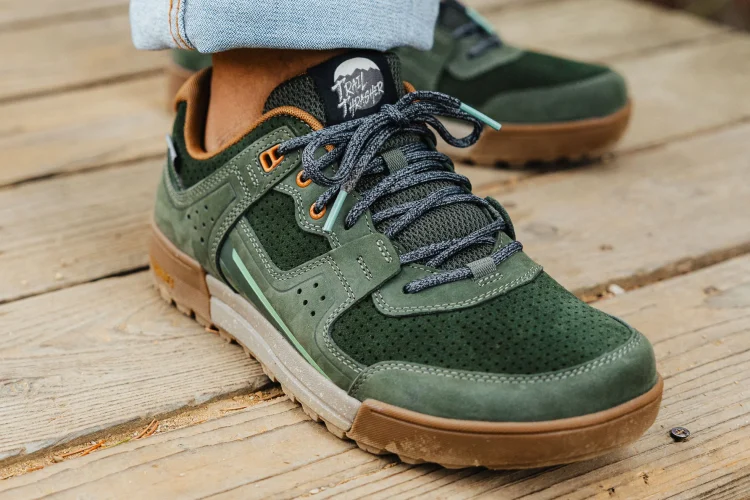
The popular Lems Trail Thrasher mountain bike shoe is back in stock after selling out quickly following its November launch.
This frame bag manufacturer is bucking the trend by making thousands of custom frame bags by hand in the USA.
A class-action lawsuit alleges the Garmin Index S2 Smart Scale uses foot-to-foot bioelectrical impedance technology that cannot accurately measure body composition as advertised.
The third-generation Canfield Tilt is a robust aluminum trail bike, featuring CBF suspension and adjustable UDH dropouts for versatile performance.
Cotic Bikes founder Cy Turner discusses modern steel bike design, mixed-wheel advantages, and why the brand decided not to build more bikes out of titanium.
The redesigned Revel Ranger V3 features slacker geometry, more travel, and downcountry intentions, marking the brand's first new bike since its founder returned.
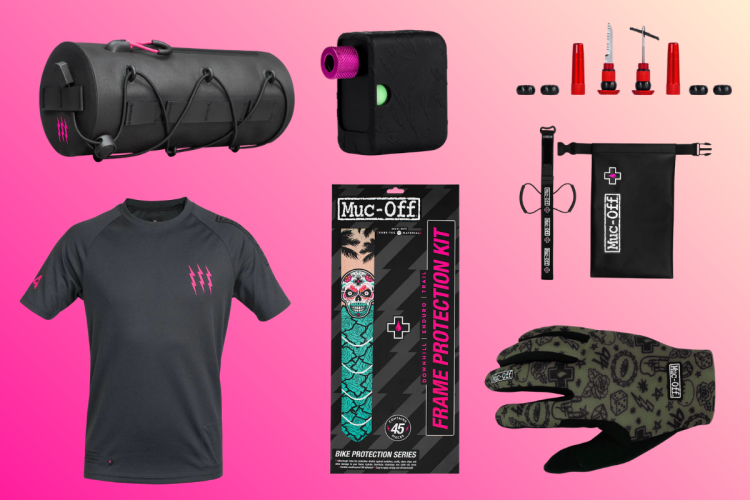
This Muc-Off clearance sale features massive discounts on top-rated bike accessories, including an $11 bar-end tire plug tool and full frame protection kits for only $20.
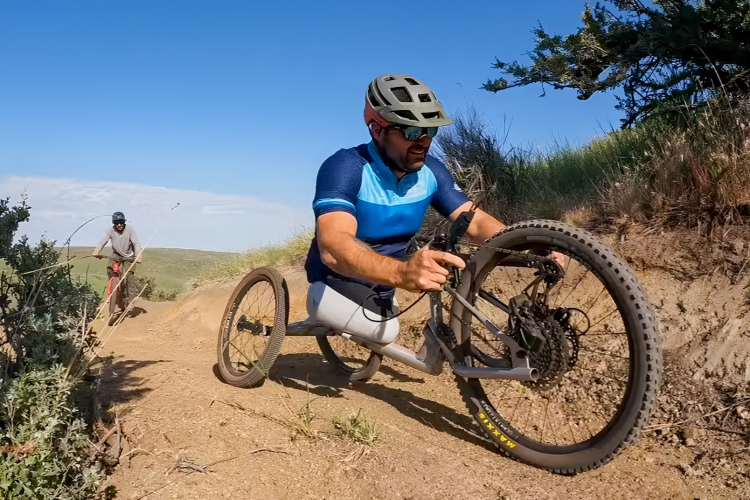
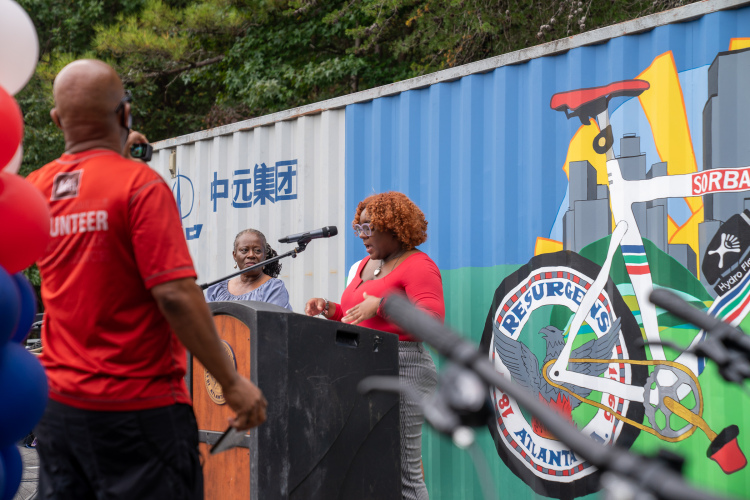
Built with input from adaptive athletes and funded by a coalition of donors, including REI and the Albertson Family Foundation, the 5.5-mile Kevin Pavlis Park trail system outside Boise just opened in May.
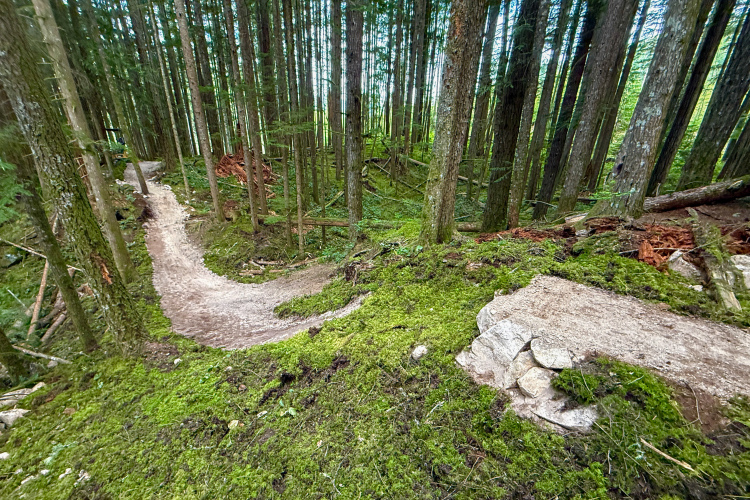
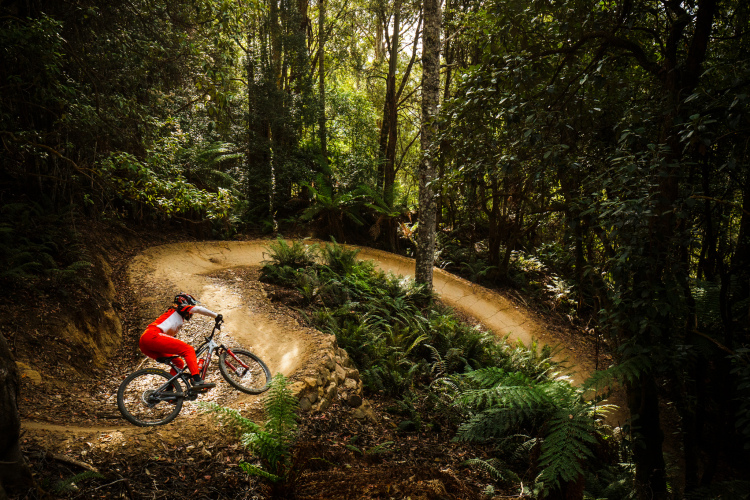
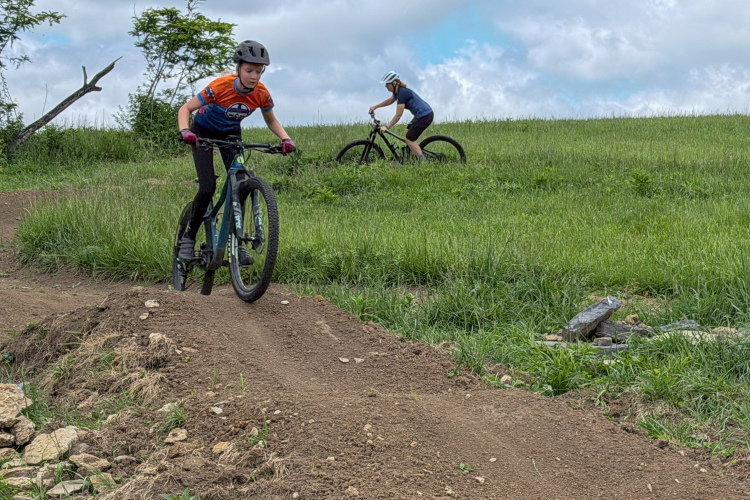
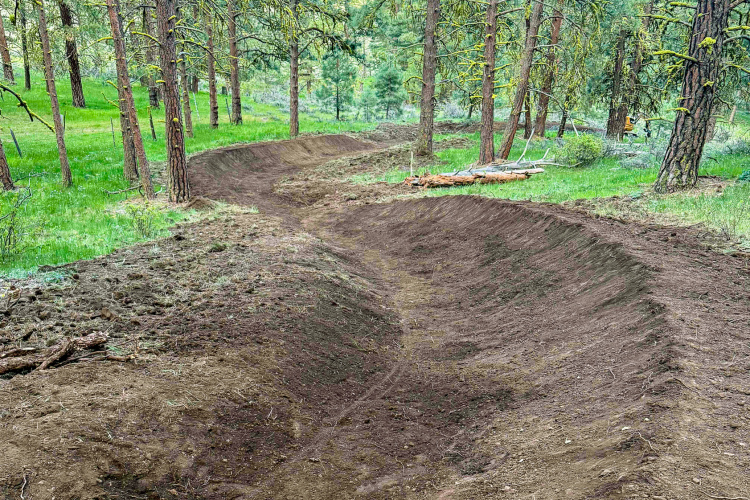
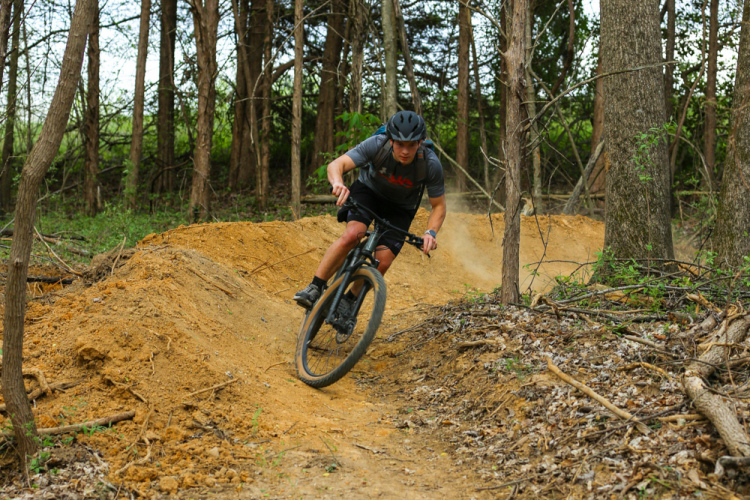
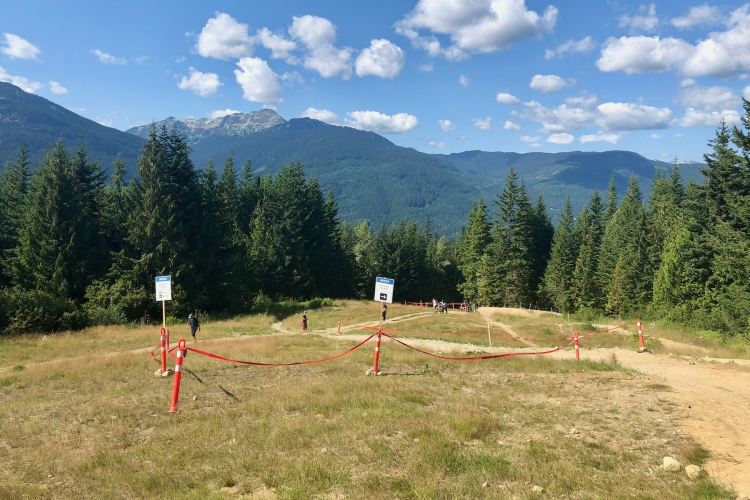
Mountain bike trail grand openings give riders the opportunity to ride fresh dirt and to celebrate all the hard work that goes into creating a new trail.
With a semi-freestanding design, the NEMO Hornet Osmo provides light weight and robustness in a packable form factor.
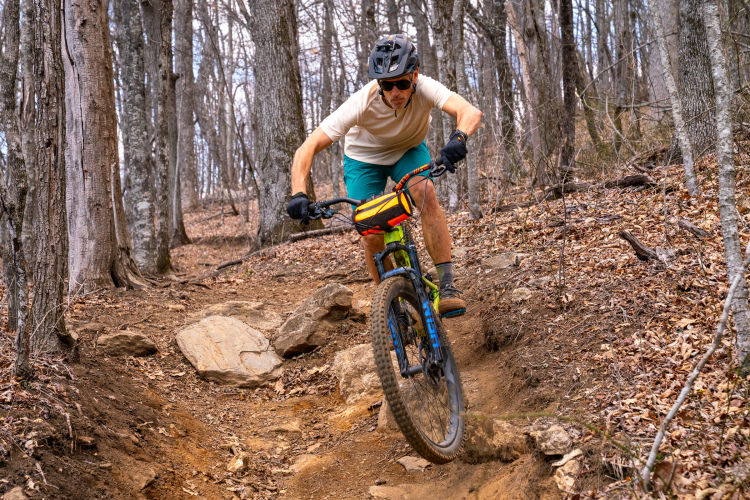
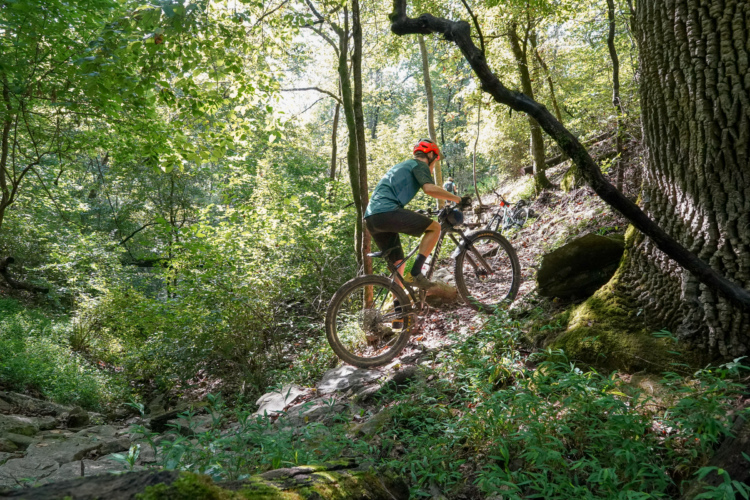
Learn three practical techniques from MTB coach Josh Whitmore to reduce rear wheel slip on technical mountain bike climbs through dynamic body positioning and movement.
Thanks to a $55,000 grant from Shimano's Trail Born Fund, Wentworth Ski Hill is building a race-ready double black that will be the only trail of its kind east of Quebec.
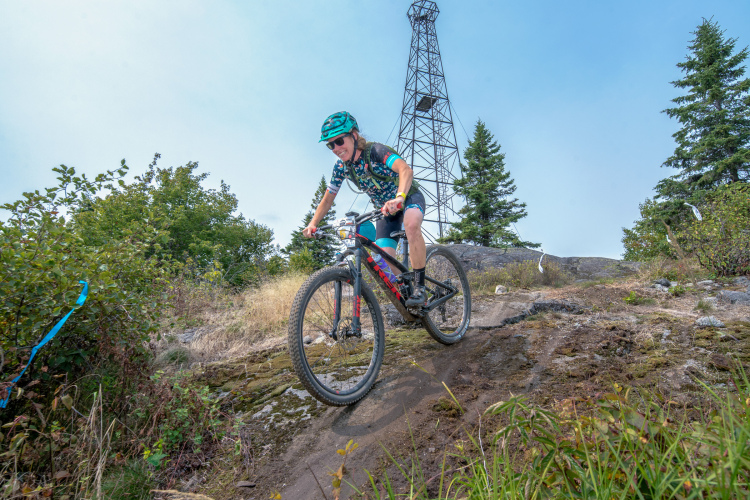
Crank the Shield is a three-day stage race in Northern Ontario that's not to be missed. Combining challenging terrain with a fun community atmosphere, it's an experience you won't forget.
Professional mountain bikers navigate complex insurance challenges as independent contractors, often relying on secondary jobs, family plans, and stategically worded applications for coverage.
One of British Columbia's first legal mountain bike trails — and the marquee descent that anchored the legendary Test of Metal race — is getting a full rebuild from Gravity Logic and one of its original builders, some three decades on.
Tell us how much rear suspension travel your biggest mountain bike has, and what you use it for.
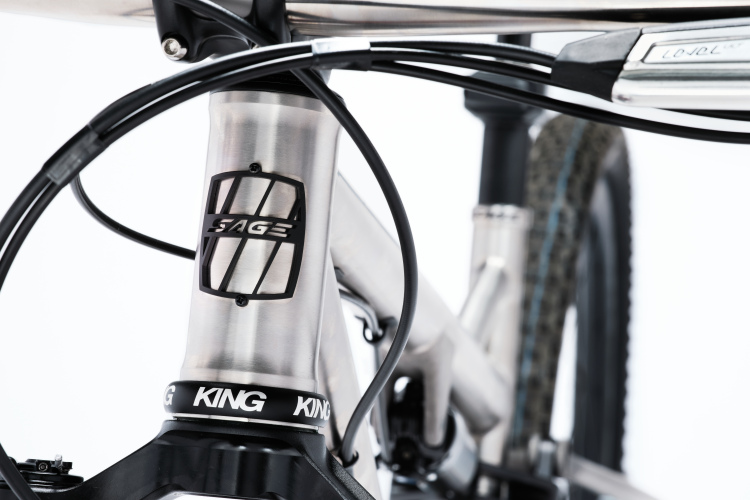
Sage reveals its first full-suspension titanium mountain bike, hand built in the USA.
The new Wolf Tooth Locked-in Bar Ends aim to reduce arm pump for DH riders and protect hands, and are designed to work with most standard grips.
Ten-time World Champion Nino Schurter will race BC Bike Race for the first time, facing multiple previous winners in the challenging seven-day stage race.
Portland-based Firsthand Framebuilding has purchased assets and designs from Paragon Machine Works, aiming to resume production of framebuilding components for small bike brands and their framebuilding school.
Maydena Bike Park accounts for nearly half of all the economic impact mountain biking delivers to the Australian state of Tasmania.
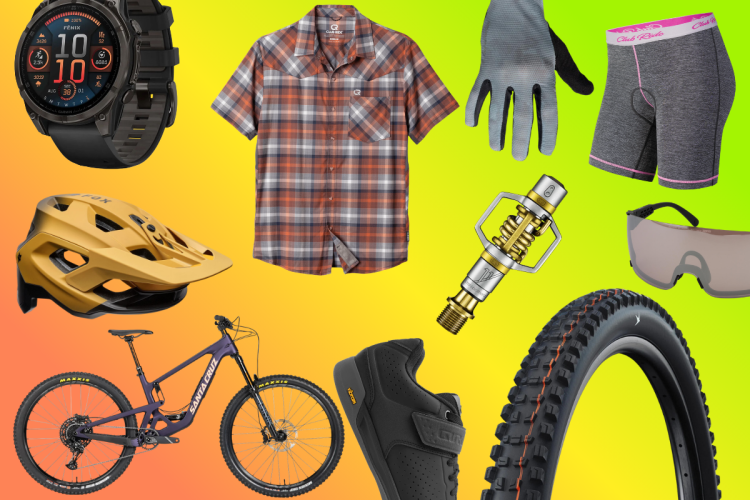
These Memorial Day sales offer mountain bikers discounts up to 50% off on gear from Club Ride, Crankbrothers, Pearl Izumi, and other retailers.
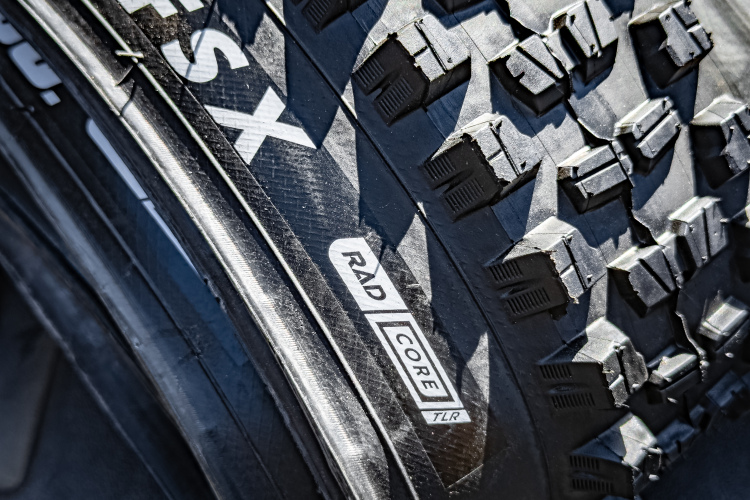
Vee Tire Co. just launched RAD-Core radial casings for three of their popular mountain bike tire models. We tested the new construction to see how it performs on trail.
Sam Garrett, a 19-year-old mountain biker from Rapid City, South Dakota, recently received a design patent for his tubeless tire plug tool that fits inside standard thru axles.
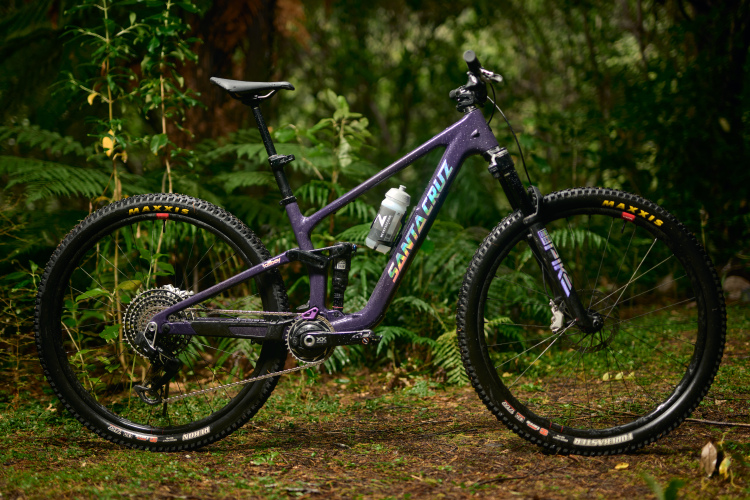
The sixth-generation Santa Cruz Tallboy adopts four-bar suspension and adds 10mm travel front/rear. It's lighter, too.
Thanks to KYMBA Bluegrass, a persistent trail champion, and a booming youth racing scene, Richmond, KY is getting its first-ever trail system tucked inside a regional sports complex.
Tell us which mountain bike destinations you've visited in North America.
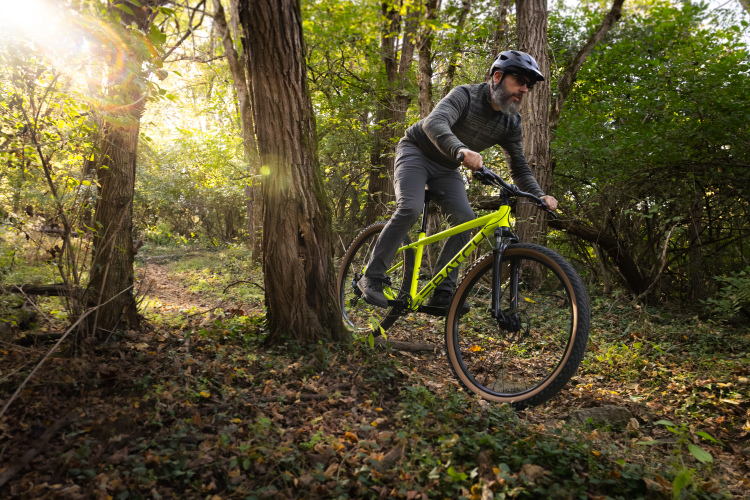
The Batch MB.2 is a $700 hardtail mountain bike designed for beginners, featuring tubeless-ready wheels, hydraulic brakes, and a dropper-ready frame across six sizes.
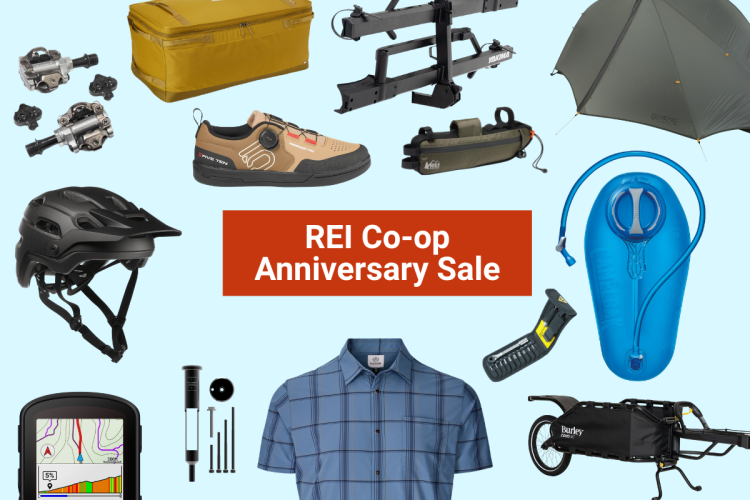
The REI Anniversary Sale features deep discounts on mountain bike and outdoor gear, including 20-25% off top brands plus additional member savings through May 25th.
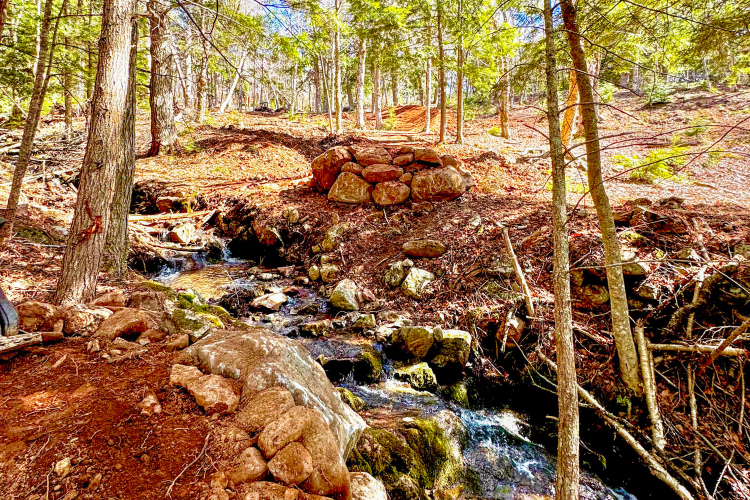
After more than a decade of planning and volunteer fundraising, the 14-mile Cookie Cutter Trail System near Ellensburg, Washington officially opens May 16.
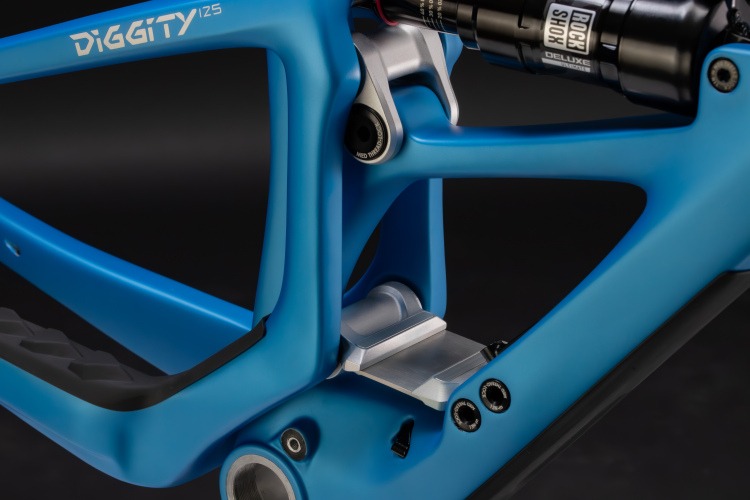
The Spot Diggity is a new 140/125mm trail bike featuring the brand's third-generation Living Link suspension design and a lightweight carbon frame.
Gravel Cycling Hall of Famer Yuri Hauswald discusses his late start in cycling, winning Unbound at age 45, and his fundraiser to support youth cycling in Emporia, Kansas.
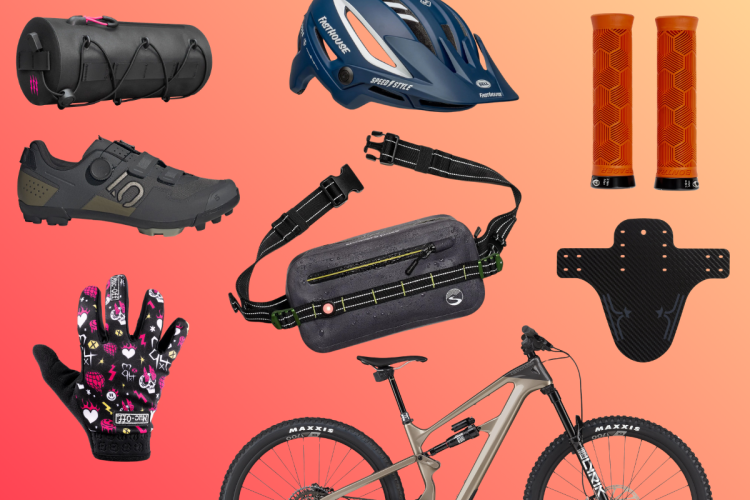
Save 25% off favorite Five Ten mountain bike shoes plus check out these $7 grips and waterproof packs on sale.
A dead derailleur or shifter battery can be a ride killer. We want to know if it's ever happened to you.
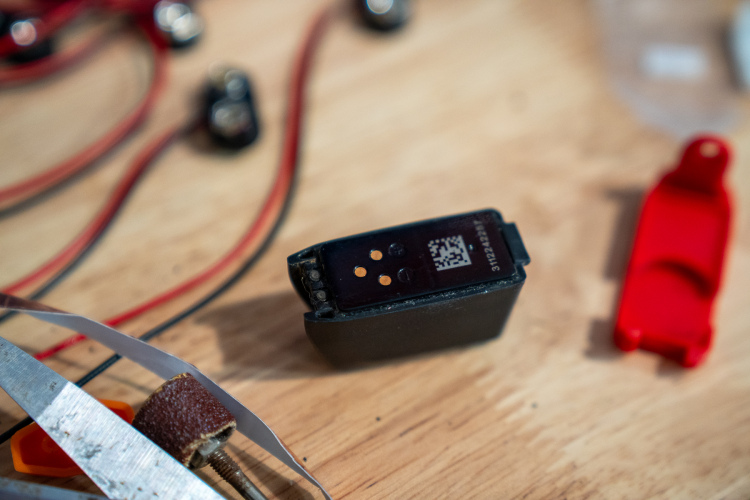
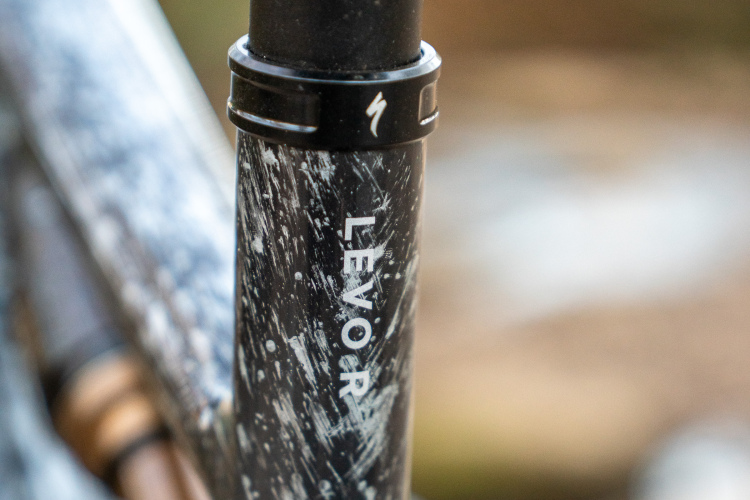
Specialized permanently reduces Turbo Levo e-bike prices in the US and Canada, with some models seeing reductions of up to 27%.
A 1.5-mile mountain bike trail just opened at Dugas Community Park in southern Kentucky, and a 2.5-mile extension is already underway.
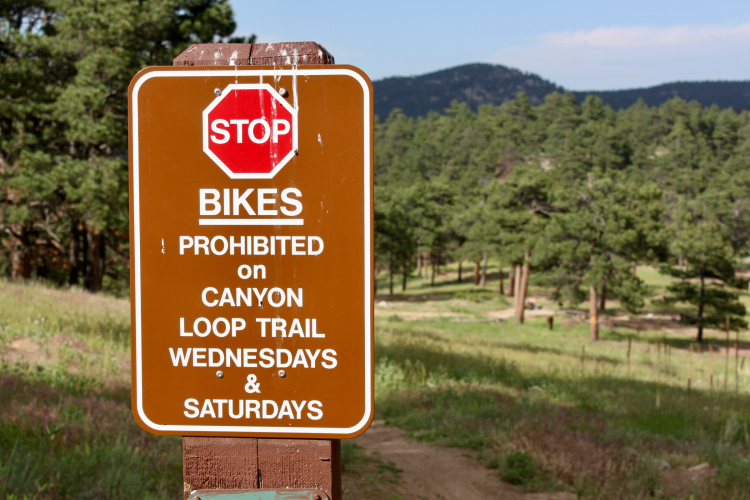
Boulder County, Colorado proposes testing alternating trail use schedules at select parks, prompting concerns from mountain bikers about reduced access to an already-limited set of trails.
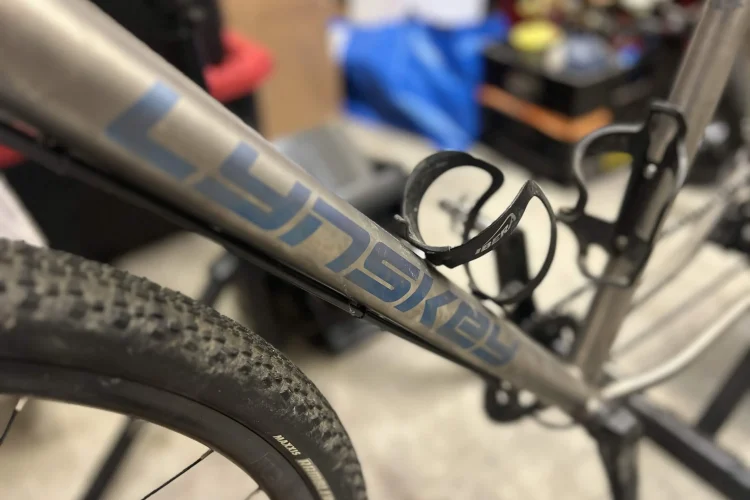
Tennessee-based titanium bike manufacturer Lynskey Performance has filed for Chapter 11 bankruptcy protection, citing reduced cash flow and rising material costs.
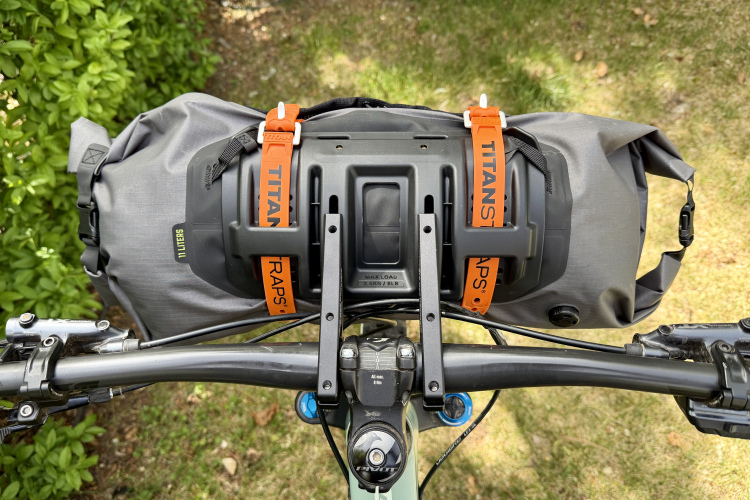
The new Manzanita Cradle from Old Man Mountain secures handlebar rolls for bikepacking even the roughest terrain.
A $4 million build-out designed by the team behind Jakes Rocks would transform Ohiopyle State Park into one of the largest mountain bike trail systems in Pennsylvania over the next three years.
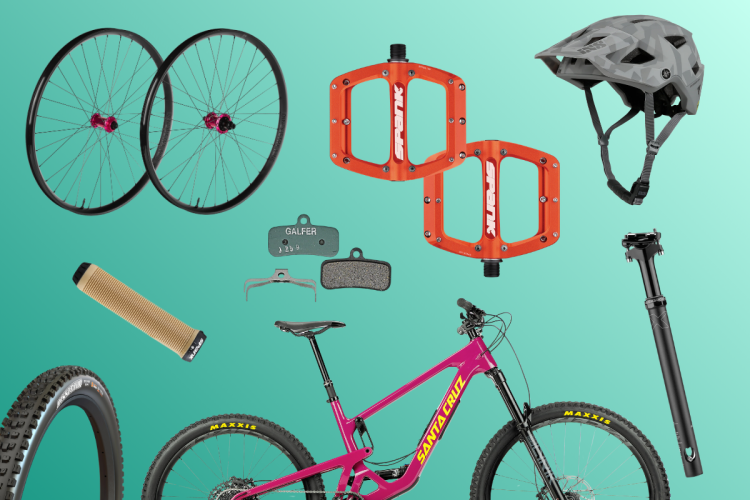
Save on bikes from Santa Cruz, Niner, and Orbea and take up to 36% to 60% off select components from Fox, Industry Nine, Spank, and top brands.
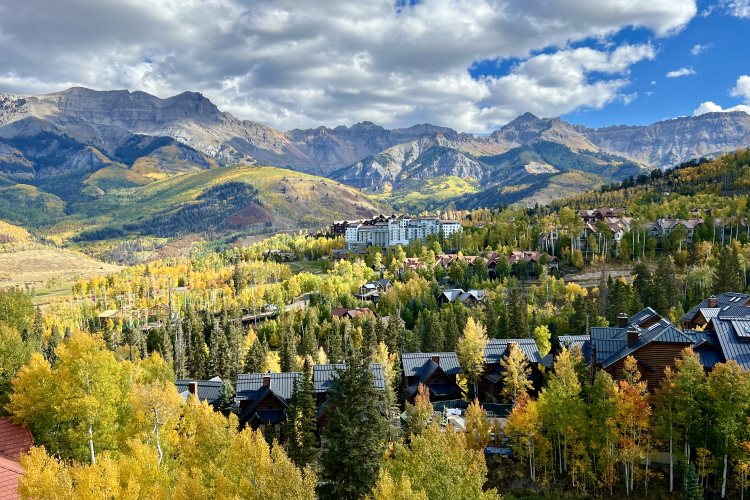
After a winter shutdown driven by the longest pro ski patrol strike in U.S. history, Telski says a Lift 4 upgrade will keep the bike park closed all summer — but locals aren't buying the official explanation.
We're asking readers if they plan to pay to visit a bike park with groomed trails and lift or shuttle service this summer.

 9
9