Trails
Reviews
Tips
Community
Deals
Latest
Support
Trails
Find trails
Best bike trails
Destinations
Add a new trail
Reviews
Mountain bike reviews
Components
Tires
Clothing & shoes
Helmets
Accessories
Product news
Community
MTB Clubs
Races & Events
Bike Shops
Tips
Skills
Fitness & Training
Health & Nutrition
Beginners
Repair
Latest Articles
Podcast
Deals
Support Singletracks
Sign in
Create an account
About us
Newsletter signup
Wheelset
Wheels
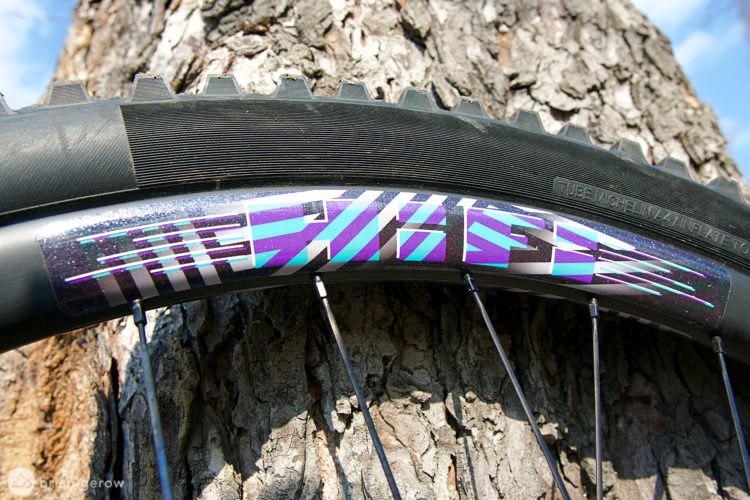
Carbon MTB Rims Done Better: We Are One Union Wheel Review
1
Wheels
Hope Fortus 30 MTB Wheels are as Affordable as They are Durable
1
Wheels
Crankbrothers Synthesis I9 Alloy Wheelset Pairs Uniquely-Tuned Front and Rear Wheels [Review]
Wheels
Shimano XT Wheels Offer Solid Performance at Bargain Price [Review]
13
Wheels
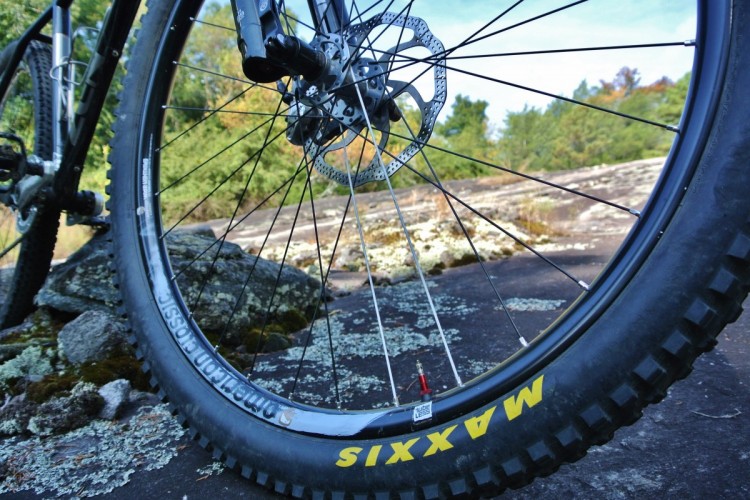
Stans Flow CB7 Carbon-Rimmed Wheelset Holds True [Review]
Wheels
ENVE Makes More Affordable $1,600, US-Made Wheelset Available
2
Wheels
Review: FSA Packs Quality and a Good Price in the Gradient Carbon Mountain Bike Wheelset
Mountain Bikes and Gear
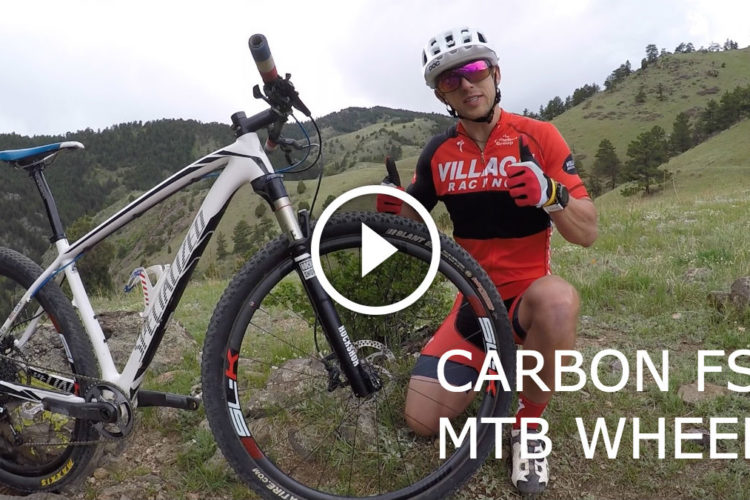
Review: HiFi Session Carbon Mountain Bike Wheels are a Sound Shred Set at a Racey Weight
Wheels
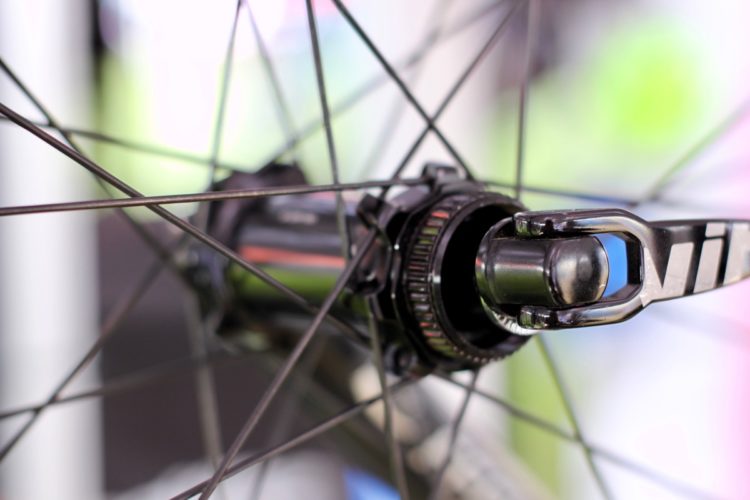
Review: Industry 9 Enduro Carbon Wheelset with Hydra Hubs
3
Wheels
Review: Race Face Next R31 Carbon Trail/Enduro MTB Wheels
3
Mountain Bikes and Gear
Watch: FSA SL-K Carbon Wheel Review
2
Mountain Bikes and Gear
Review: Reynolds 27.5+ Carbon Wheelset Features Hookless Rims
Culture
Vittoria First to Use Graphene in Carbon MTB Rims
1
Mountain Bikes and Gear
American Classic Wide Lightning Wheelset Review
Mountain Bikes and Gear
News: SRAM Announces RAIL 40 AM Wheelset
Mountain Bikes and Gear
Review: Shimano XT 29er Wheelset
1
Mountain Bikes and Gear
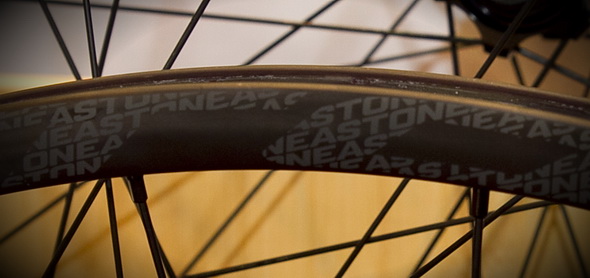
Interbike 2012: New Wheels, Bars, Stems, and Seatposts from Easton
7
Community
Easton Havoc 26" MTB Wheel Review
2
Community
Mavic DeeMax Ultimate DH Wheelset Review
10
Mountain Bikes and Gear
On Test: Fox F29 Terralogic Fork and WTB LaserDisc Trail 29
4
Mountain Bikes and Gear
SUNRingle Black Flag Expert 29er Wheelset Review
1
Mountain Bikes and Gear
Sun Ringle Charger Pro MTB Wheelset Review
6
Mountain Bikes and Gear
Crankbrothers Cobalt Wheelset Review
9

 1
1