Trails
Reviews
Tips
Community
Deals
Latest
Support
Trails
Find trails
Best bike trails
Destinations
Add a new trail
Reviews
Mountain bike reviews
Components
Tires
Clothing & shoes
Helmets
Accessories
Product news
Community
MTB Clubs
Races & Events
Bike Shops
Tips
Skills
Fitness & Training
Health & Nutrition
Beginners
Repair
Latest Articles
Podcast
Deals
Support Singletracks
Sign in
Create an account
About us
Newsletter signup
Tools
Tools
7 Mountain Bike Tools That Pay for Themselves
9
Repair
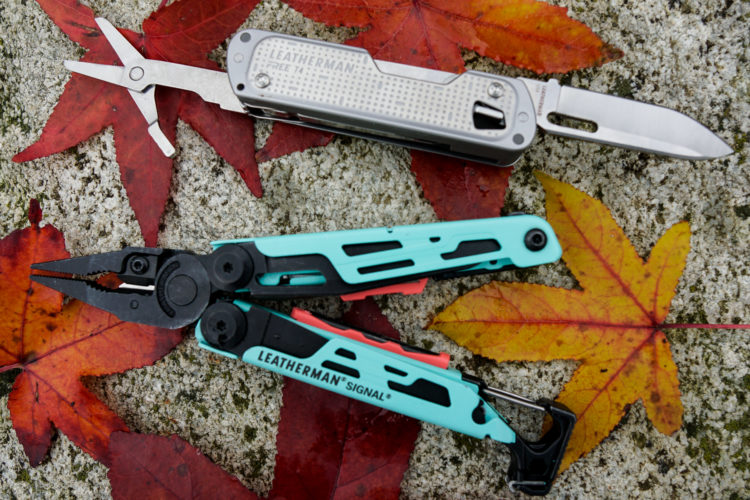
USA Made Leatherman Multi-Tools Fill the Gaps in Backcountry Emergency Packs
Tools
Topeak D-Torque Wrench has Digital Display, Ratcheting Head, and Bits for Just About Every Bike Bolt [Review]
7
Repair
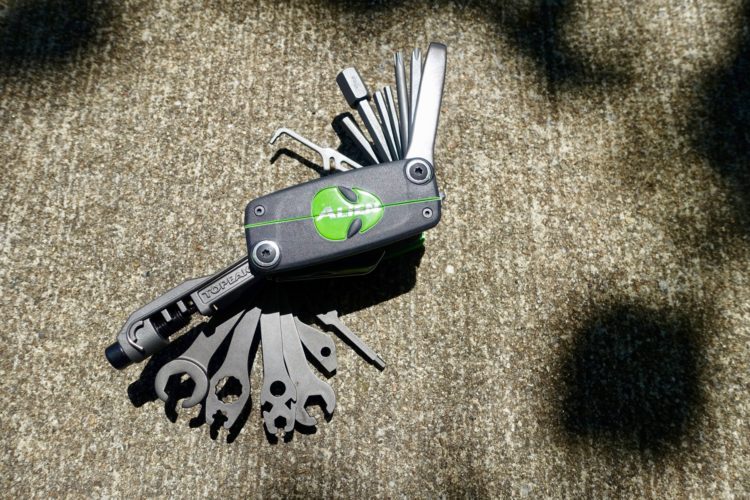
The Topeak Alien III is Among the Most Comprehensive (and Heaviest) Mountain Bike Multi-tools Ever Invented
Repair
Review: The Sport-Mechanic Bike Repair Stand by Feedback Sports
1
Repair
All In Multitool Fits Inside Crank Spindle, Adds a Bike Chain Breaker
2
Mountain Bikes and Gear
GUP Kwiki inflates and seals tubeless MTB tires in one shot
9
Repair
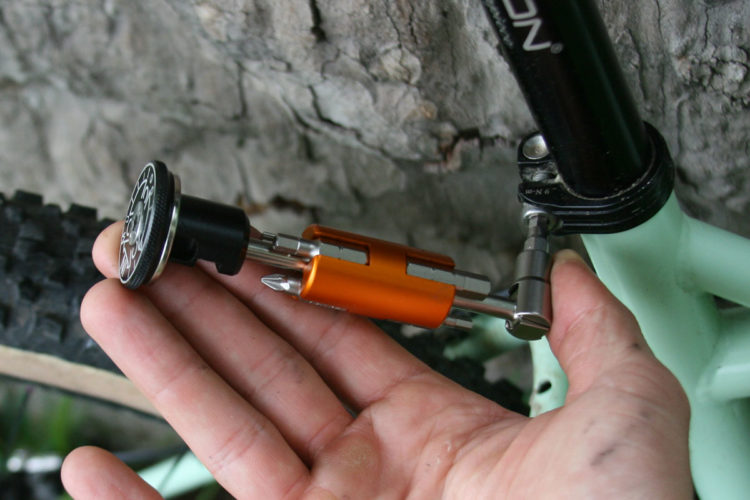
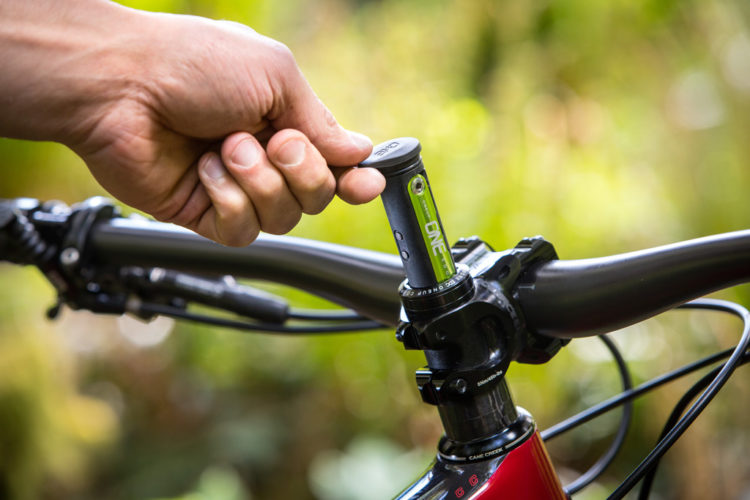
How To Install the OneUp Components EDC Tool System
2
Tools
Clear the Way with the Silky ONO Chopper and Pocketboy Folding Saw
2
Tools
Mount Your Bottle and Tools on Your Down Tube with Wolf Tooth's New B-RAD Half Bottle System
Culture
Stash Tools in Your Steerer Tube with the OneUp Components EDC
5
Tools
Feedback Sports Team Edition Tool Kit Review
2
Mountain Bikes and Gear
Schwalbe Introduces World's First Mountain Bike Tire Cutting Tool
Mountain Bikes and Gear
Industry Nine Sparks Interest with the Matchstick, A Front Axle with Bike Tools Hidden Inside
Mountain Bikes and Gear
Keep Your MTB Running Smoothly: 5 Things a Pro Mechanic Thinks You Should Know
7
Tools
Birzman Torque Wrench Review
1
Brakes
How To Change a Hydraulic Brake Line on Your MTB
4
Mountain Bikes and Gear
Review: Park Tool PRS-25 Team Issue Repair Stand
Mountain Bikes and Gear
Review: Park Tool CRP-2 Crown Race Removal Tool
Mountain Bikes and Gear
Prestaflator, Ratchet Tools, and a Better Tire Lever
5
Mountain Bikes and Gear
Emergency Prep for Mountain Biking
23
Mountain Bikes and Gear
How to Set Up a Home Bike Shop For Every Space and Budget
14
Mountain Bikes and Gear
Feedback Sports Alpine Digital Scale Review
1
Mountain Bikes and Gear
New Toys From Hayes for Your Stroker Brakes
2
Tools
The Essential Tools for DIY Mountain Bike Mechanics
4
Mountain Bikes and Gear
Simple Strap Replaces Your MTB Seatpost Bag
2
Mountain Bikes and Gear
What to pack for an epic MTB ride
2
Mountain Bikes and Gear
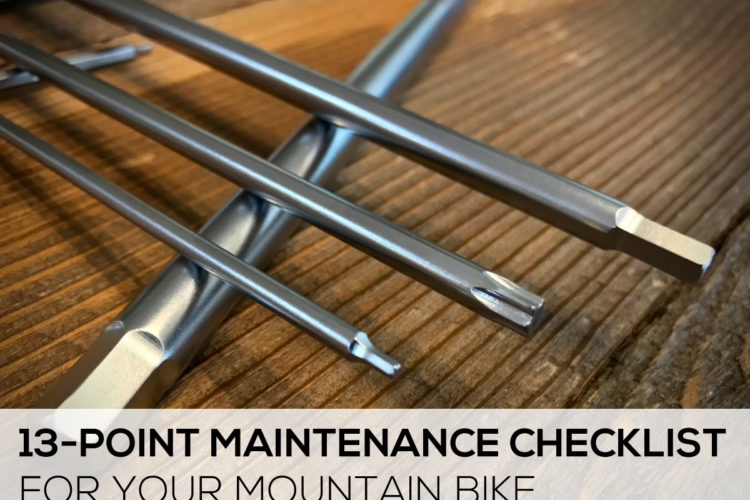
13-Point Mountain Bike Maintenance Checklist
10

 9
9