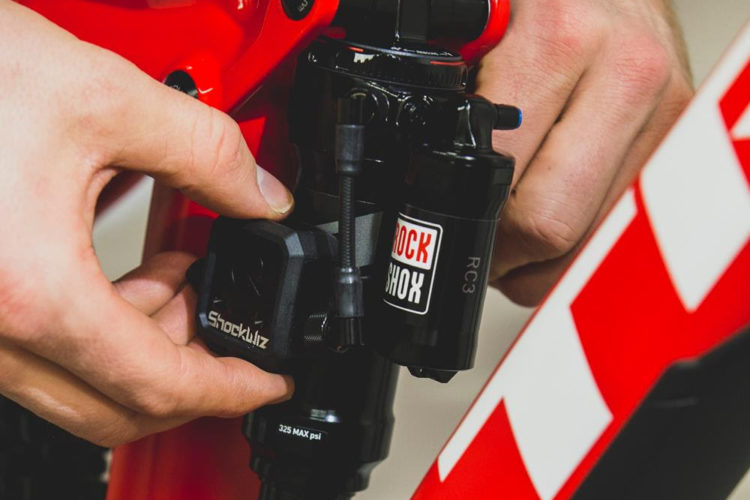
RockShox has just released a new DebonAir air spring that is now available across much of their product line, including in the new Lyrik RC2 mountain bike fork and Super Deluxe RCT shock.
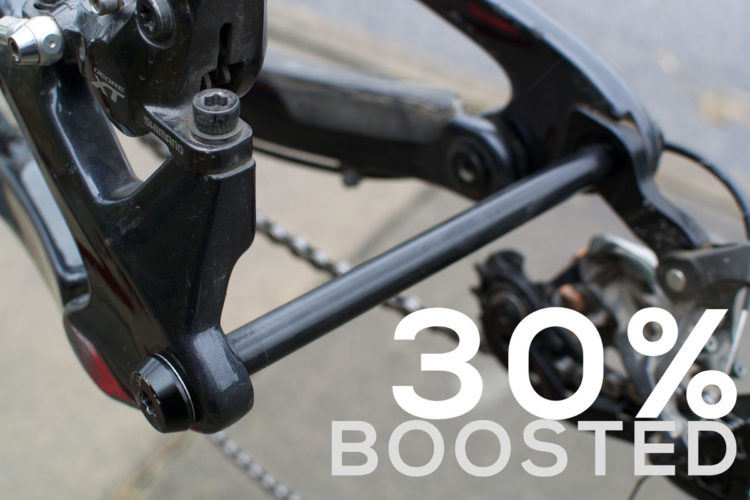
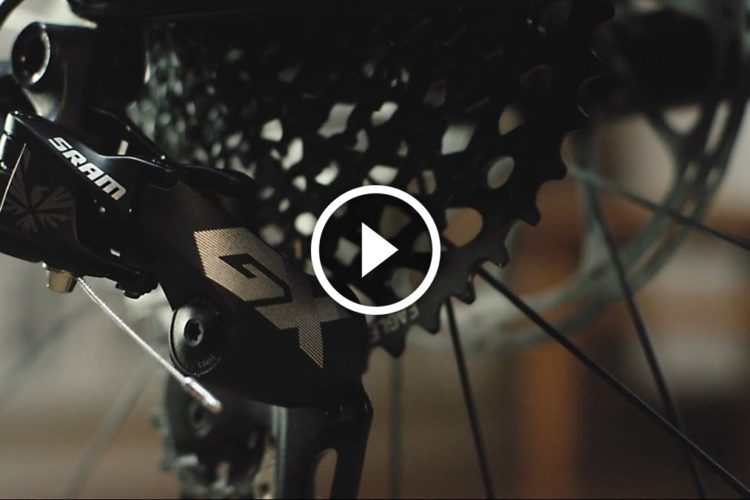
Aaron logged over 400 miles aboard SRAM's new GX Eagle 12-speed drivetrain, which is much more affordable than their XX1 and X01 Eagle drivetrains and is comparably priced to the 11-speed GX gear. Overall, the performance of GX Eagle was superb.
Mountain bikers overwhelmingly prefer single chainring drivetrains. New 12-speed cassettes are quickly gaining traction, while 11-speed cassettes are still the most popular.