Trails
Reviews
Tips
Community
Deals
Latest
Support
Trails
Find trails
Best bike trails
Destinations
Add a new trail
Reviews
Mountain bike reviews
Components
Tires
Clothing & shoes
Helmets
Accessories
Product news
Community
MTB Clubs
Races & Events
Bike Shops
Tips
Skills
Fitness & Training
Health & Nutrition
Beginners
Repair
Latest Articles
Podcast
Deals
Support Singletracks
Sign in
Create an account
About us
Newsletter signup
Shock
Rear Shocks
Gainful Grip with the Formula Mod MTB Coil Shock [Review]
4
Rear Shocks
Öhlins Expands MTB Air Shock Offerings With the New Single-Chamber TTX1
Rear Shocks
The Öhlins TTXAir Shock: A Lighter, High Performance Option from the Swedish Brand [Review]
3
Culture
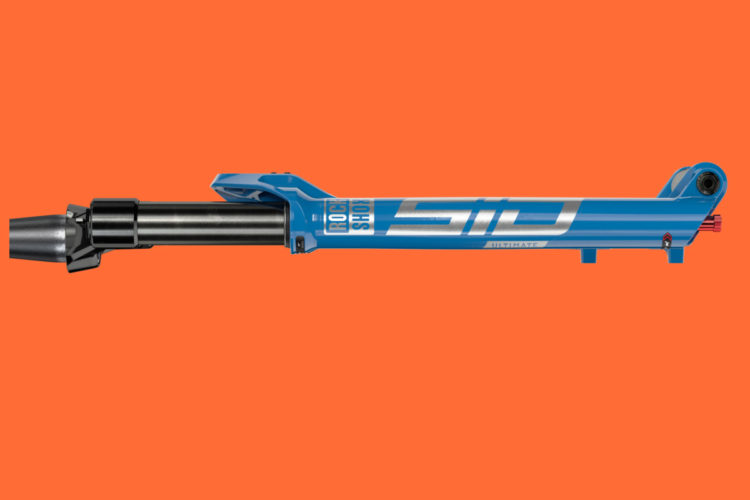
The Latest RockShox SID Fork Comes in Race or Trail Versions, adds a Lightweight Shock
Rear Shocks
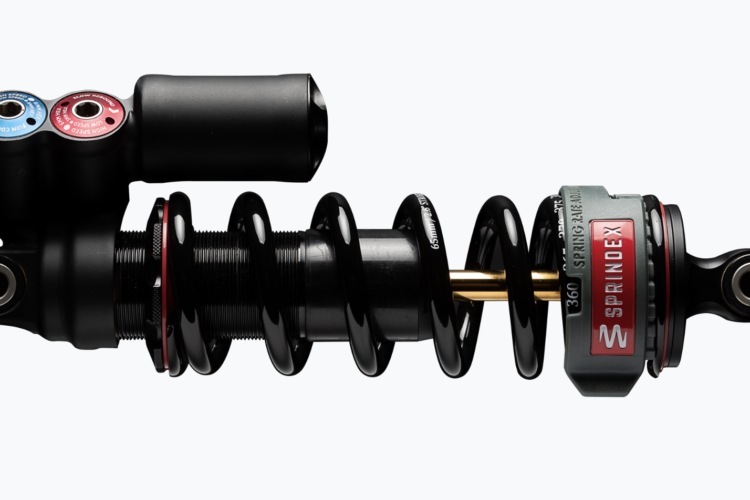
Sprindex Adjustable-Rate Coils Allow Mountain Bikers to Quickly Tune Their Spring Rate
Rear Shocks
Cane Creek DB Air CS is Still the Rear Shock to Beat [Review]
Culture
Hayes' New Enduro Collection Includes the Mezzer Fork with 37mm Stanchions, Plus a New Shock, Brakes, and Cockpit
1
Rear Shocks
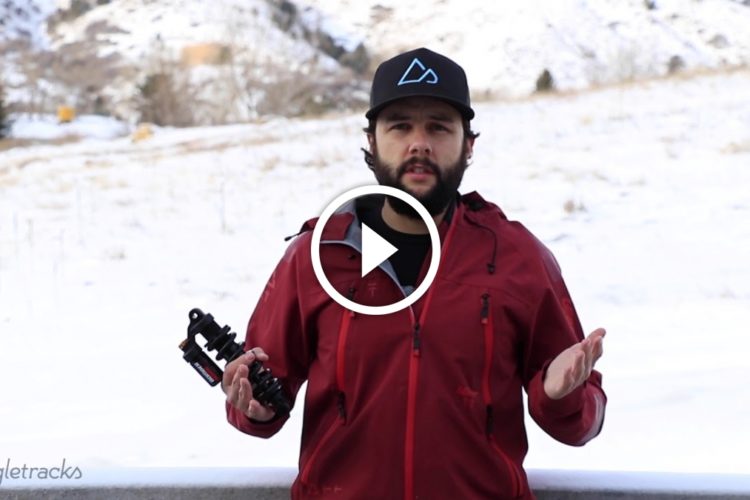
Watch: Pros and Cons of Running a Coil Shock on a Trail Bike, Plus Setup Tips
Rear Shocks
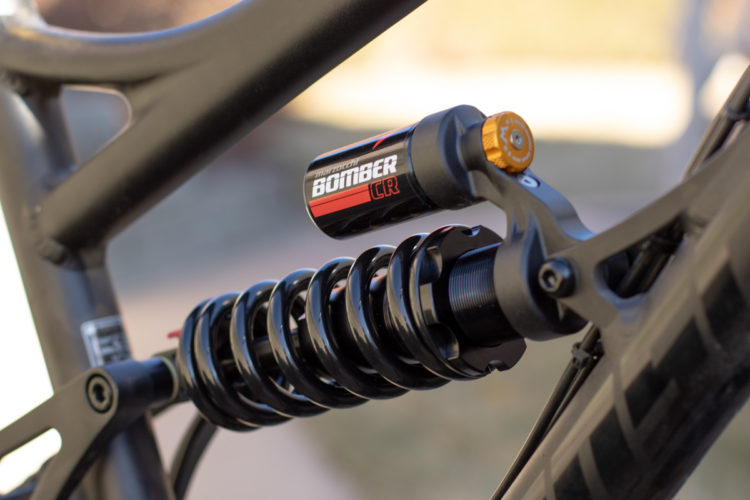
First Impressions: Trail Riding With the New Marzocchi Bomber CR Coil Shock
4
Rear Shocks
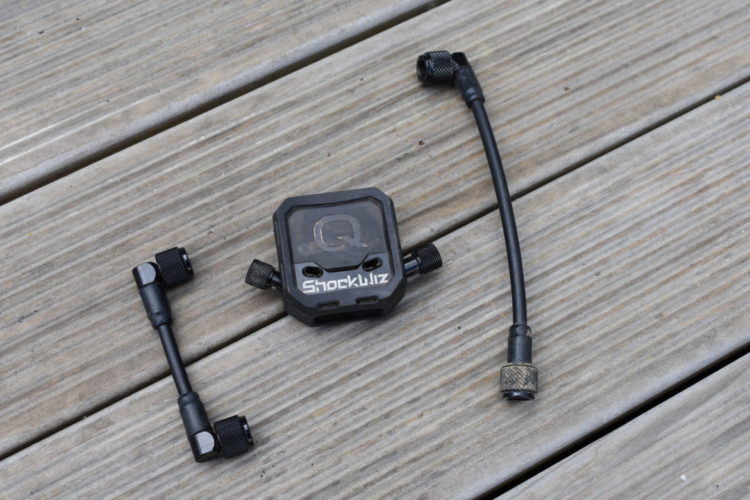
How to Optimize Your Mountain Bike Suspension with ShockWiz
2
Forks
How A Volume Spacer Changes Your Mountain Bike Suspension
Mountain Bike Podcast
Understanding Mountain Bike Suspension [Podcast #138]
Culture
Niner Shows Special Edition RIP 9, Push Edition
Culture
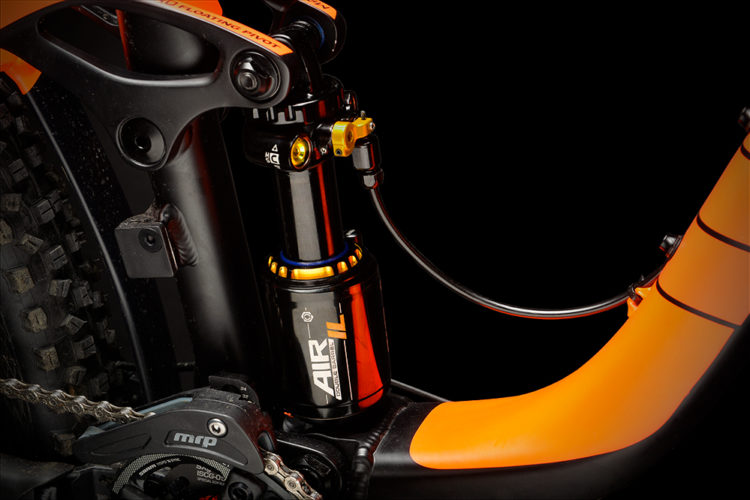
Cane Creek Releases New DB Air IL Shock and New Remotes
2
Culture
Updated: Fox Recalls 7,300 Float X2 Shocks Due to Possibility of "Rupture"
3
Mountain Bikes and Gear
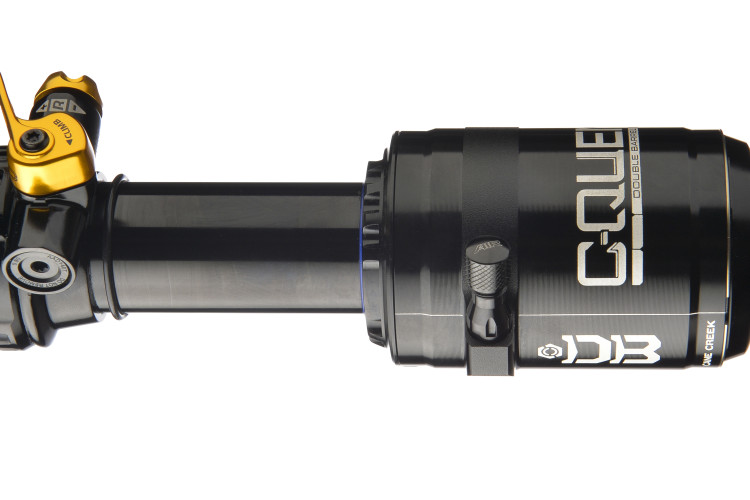
Cane Creek Announces the C-Quent Shock
Culture
News: RockShox Launches New Deluxe and Super Deluxe Shocks
1
Mountain Bikes and Gear
Review: Cane Creek DBInline Shock
Mountain Bikes and Gear
Review: 2014 Fox Float X CTD with Trail Adjust
2
Mountain Bikes and Gear
Review: Rockshox Vivid R2C Shock
Rear Shocks
Cane Creek Double Barrel Shock Review
6
Community
Manitou Revox Pro MTB Shock Review
4
Community
Fox DHX RC4 Mountain Bike Shock Review
Community
Diverse Suspension Dueler Rear Shock Review
11
Community
2009 Manitou ISX-6 Review
4

 4
4