Trails
Gear
Community
Tips
Deals
Latest
Support
Trails
Find trails
Best bike trails
Destinations
Trail news
Add a new trail
Gear
Mountain bike reviews
Components
Tires
Clothing & shoes
Helmets
Accessories
Repair
Product news
Community
Forums
MTB Clubs
Races & Events
Bike Shops
Tips
Skills
Fitness & Training
Health & Nutrition
Beginners
Repair
Latest Articles
Podcast
Deals
Support Singletracks
Sign in
Create an account
Merch
About us
Newsletter signup
helmet camera
helmet camera
The Insta360 One RS Takes the Frustration out of Shooting POV
helmet camera
The Insta360 One X2 Action Camera Offers a Legit GoPro Alternative [Review]
helmet camera
AKASO Brave 7 LE Action Camera a Good GoPro 8 Alternative? [Review]
GoPro
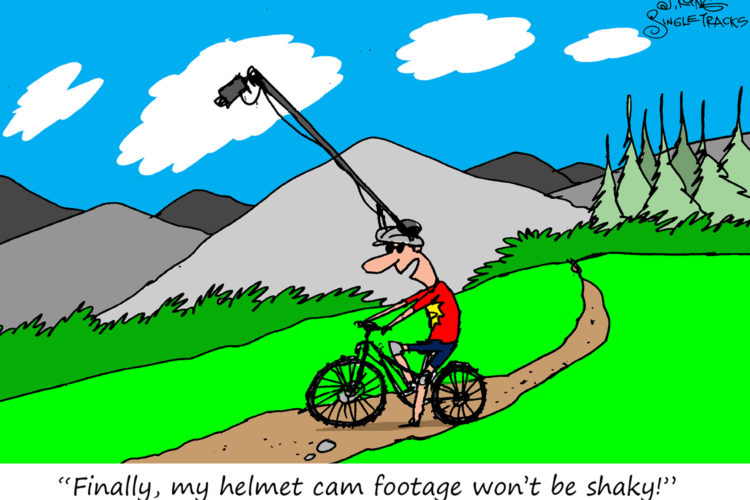
MTB Video Stabilization That Actually Works [Cartoon]
podcast
Mountain Biking is Expensive, But it Doesn't Have to Be [Podcast #235]
news
GoPro Introduces the New HERO8 Black and MAX Cameras
map
Tested: Everysight Raptor is a Heads-up Display for Mountain Biking with GPS, Brow Cam
GoPro
New GoPro Hero7 Camera Promises Gimbal-Smooth Video, Hands-Free Operation
GoPro
Rylo 360-degree Camera Review: Is it a Gimbal Killer for MTB?
news
New Entry-Level GoPro Hero Camera Costs Just $199
podcast
The Singletracks Team Talks Santa Cruz Bronson, Selling Bikes Online, and $80 Helmet Cameras [Podcast #9]
podcast
$80 Helmet Camera and KTM Myroon Reviewed + 8 MTB Resorts to Visit This Fall [Podcast #8]
GoPro Announces New Lower-Cost Camera: HERO+
New GoPro Hero4 is 50% Smaller Than Original!
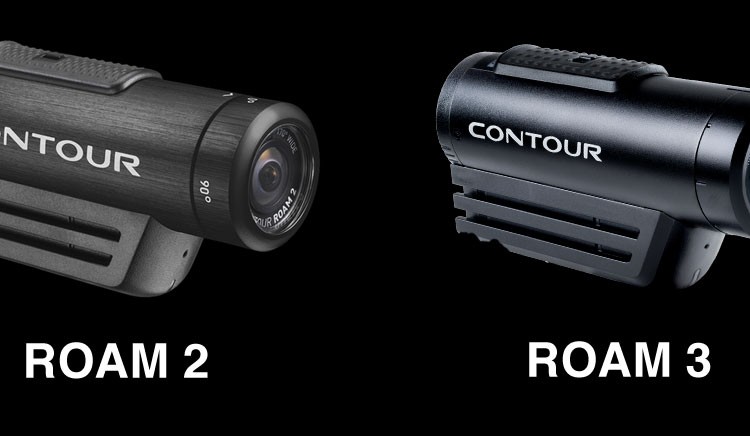
$250 Gets You Two Helmet Cams From Contour
News: Garmin Introduces Virb X and Virb XE HD Action Cameras
Review: Garmin VIRB Elite Helmet Camera
Interbike 2014: Gadgets for MTB Geeks
Tiny Polaroid Action Camera is Begging to Be Tossed
New Helmet Cameras at Interbike: Sony, JVC, GoPro, Garmin, and Rollei
Review: GoPro Hero3 Black Helmet Camera
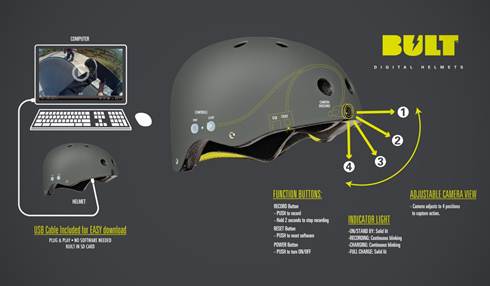
New Helmet Features Integrated Camera
more articles