Trails
Gear
Community
Tips
Deals
Latest
Support
Trails
Find trails
Best bike trails
Destinations
Trail news
Add a new trail
Gear
Mountain bike reviews
Components
Tires
Clothing & shoes
Helmets
Accessories
Repair
Product news
Community
Forums
MTB Clubs
Races & Events
Bike Shops
Tips
Skills
Fitness & Training
Health & Nutrition
Beginners
Repair
Latest Articles
Podcast
Deals
Support Singletracks
Sign in
Create an account
Merch
About us
Newsletter signup
fr
event
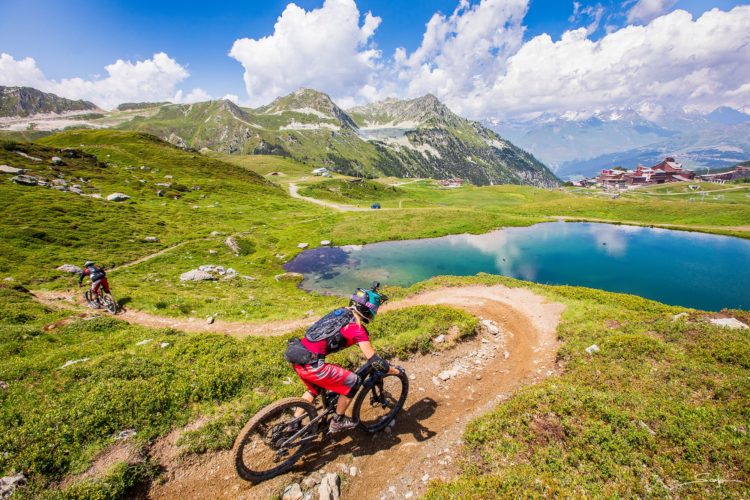
Paired Enduro Racing: What I learned While Racing Enduro2, in Les Arcs, France
Enduro Mountain Biking
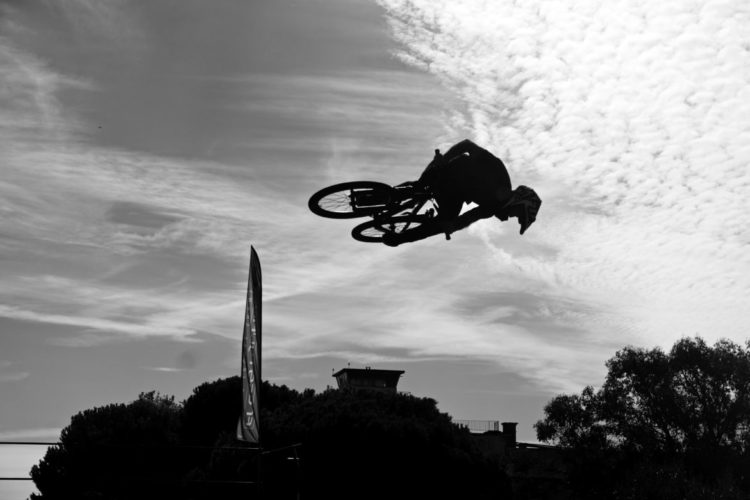
Watch: Youn Deniaud - Welcome to the Off Season
event
Photo Essay: Roc D'Azure in Fr
reviews
Review: ION Avid Scrub-Series Shorts
DH
Review: Giro Chamber Shoe
video
Video: Brendan Fairclough Bests Les Deux Alpes
Enduro Mountain Biking
Review: ION Scrub Gear: Helium Jersey and Avid Shorts
video
Cinema Sunday: "Dustin Gilding - The Revealing"
video
Cinema Sunday: "Four By Three: The Family Film"
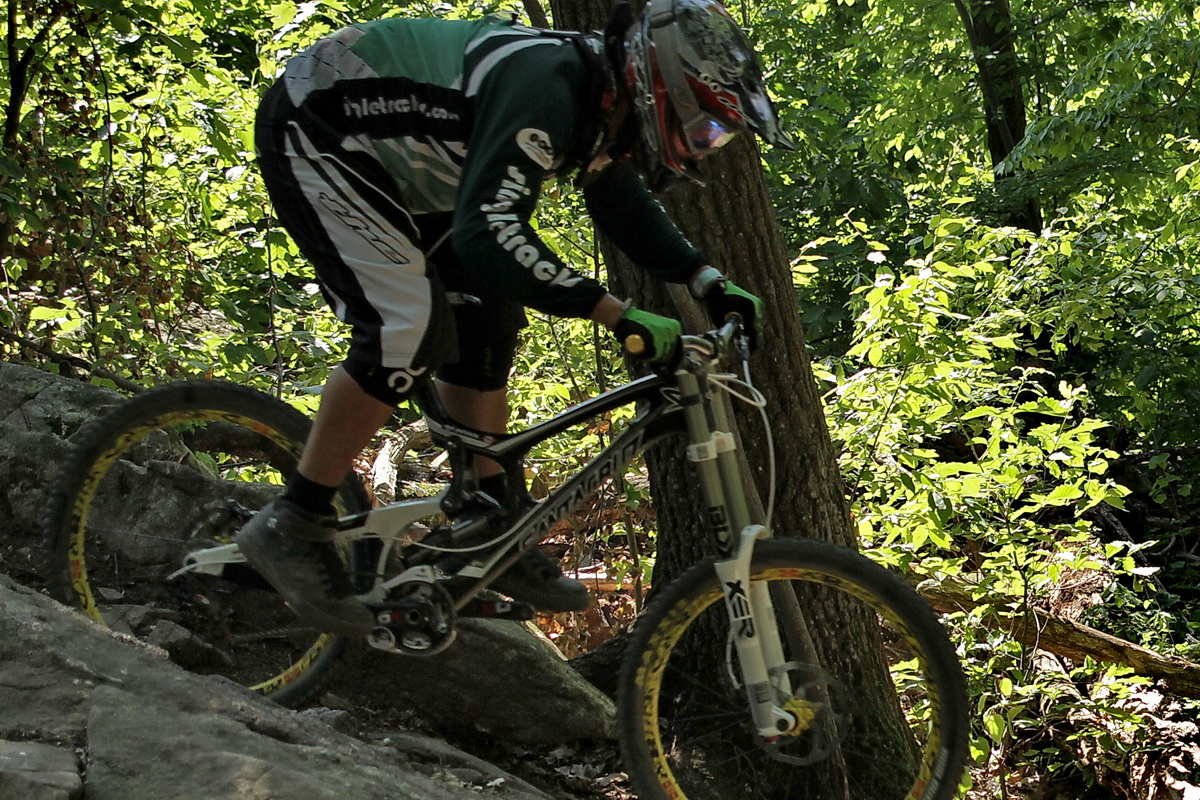
Downhill
2012 Answer Components: Carbon 780 Bar and ROVE XC Stem Review
Trail
2012 Avid X0 Trail Brakes Review
Downhill
2012 RockShox BoXXer World Cup Fork Review
Five Ten Cyclone MTB Shoe Review
Maxxis High Roller II Downhill Tire Review
The Maxxis Highroller II is a decent all-around tire, and the softer, loamy turf is where these DH tires truly shine.
Giro Remedy CF Full Face Mountain Bike Helmet and DND Glove Review
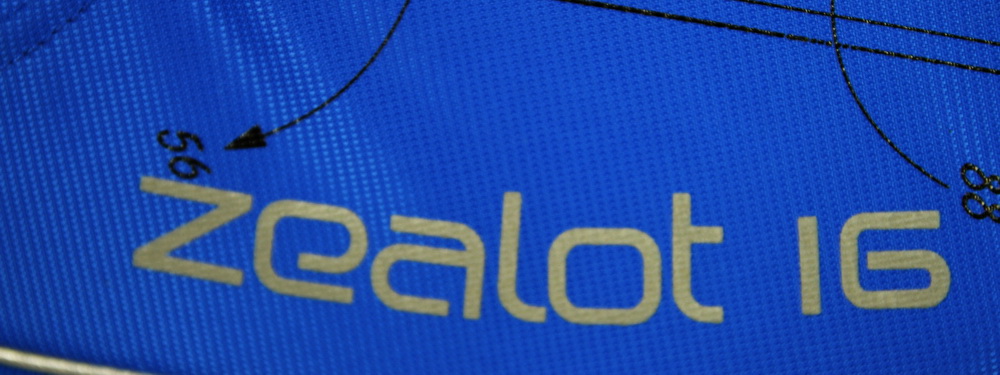
Osprey Zealot 16 Hydration Pack Review
SunRingle ADD Wheel Review
Fulcrum Red Fire DH Wheelset Review
Dakine Descent Short and Descent LS Jersey Review
Twenty6 Gear for 2012: Pedals, Stems, and More
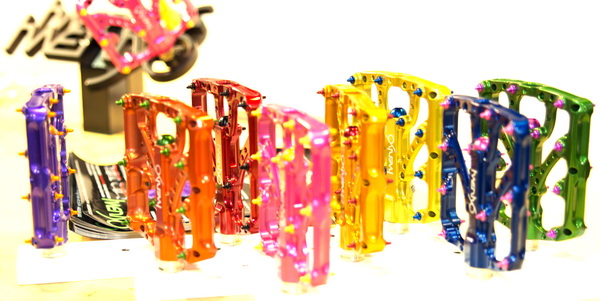
Spank Spike Pedals: Reviewed
ITS Invader 2.5" MTB Tire Review
more articles