Trails
Reviews
Tips
Community
Deals
Latest
Support
Trails
Find trails
Best bike trails
Destinations
Add a new trail
Reviews
Mountain bike reviews
Components
Tires
Clothing & shoes
Helmets
Accessories
Product news
Community
MTB Clubs
Races & Events
Bike Shops
Tips
Skills
Fitness & Training
Health & Nutrition
Beginners
Repair
Latest Articles
Podcast
Deals
Support Singletracks
Sign in
Create an account
About us
Newsletter signup
Buyers Guide
Hydration Packs
The Best Hydration Backpacks for Mountain Biking We've Tested
2
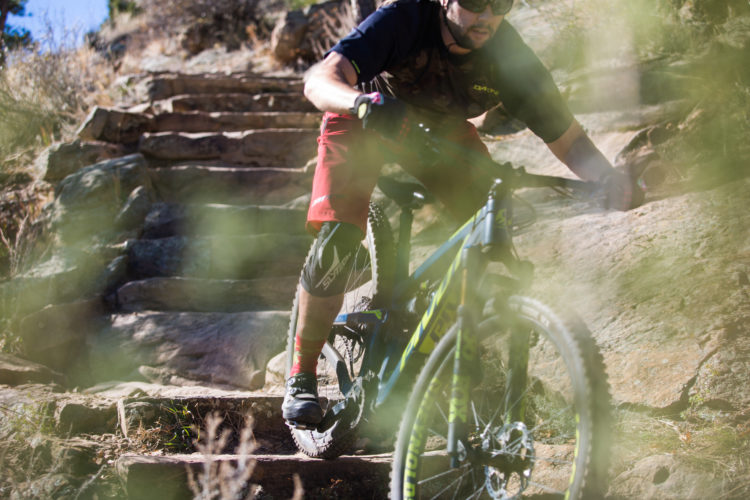
Mountain Bike Shoes
The Best Mountain Bike Shoes We Recommend in 2025
1
Shorts
The Best Mountain Bike Shorts for Men and Women, 2025
Helmets
The Best Mountain Bike Helmets You Can Buy in 2025
15
Dropper Posts
The Best Dropper Posts You Can Buy in 2025
3
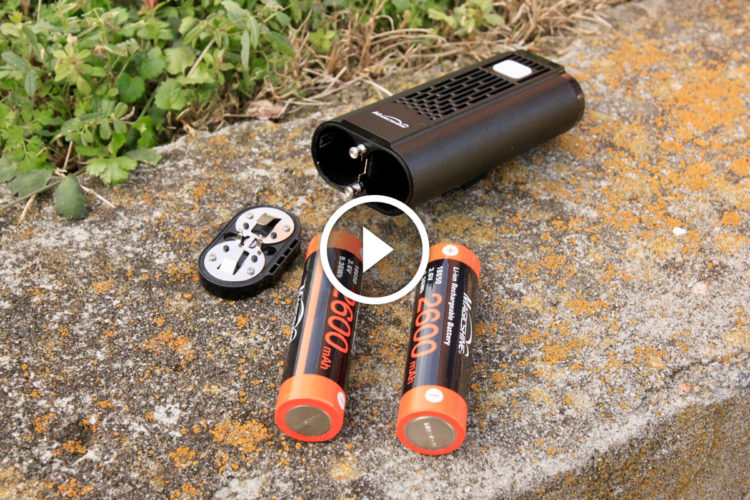
Lights
14 Mountain Bike Lights We Recommend for Night Riding
1
Body Protection
Finding the Right Fit: 8 MTB Knee Pads, Tested
6
Tires
The Best Mountain Bike Tires for Every Type of Riding
24
Cockpit
XC Bike Buyers Guide: How to Choose the Best Cross-Country MTB
Enduro Bikes
The Essential Enduro Mountain Bike Buyer's Guide
1
Mountain Bikes and Gear
The Ultimate Trail Bike Buyer's Guide
5
Mountain Bikes and Gear
Watch: How to Choose the Best Mountain Bike Light
Hip Packs
10 of the Best Hip Packs, According to Our MTB Testers
3
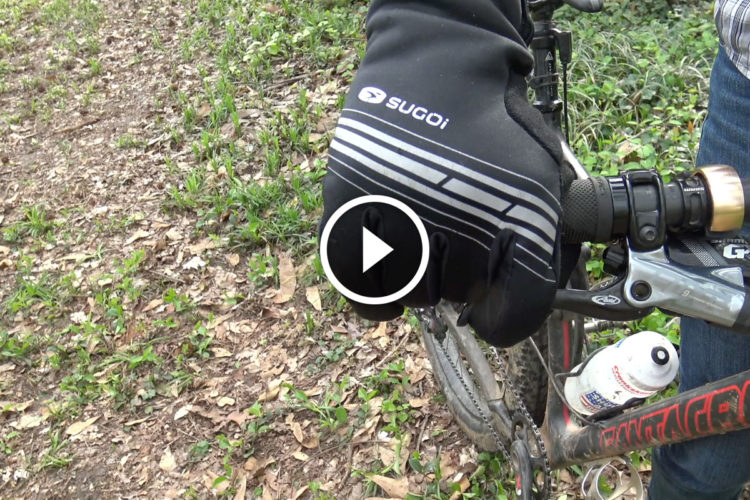
Gloves
Watch: Mountain Bike Glove Buyers Guide
1
Mountain Bikes and Gear
10 Upgrades for Less Than $100 That Will Radically Improve Your Mountain Bike's Performance
20
Wheels
10 Mountain Bike Wheelsets for Almost Any Budget
4
Gloves
How To Prevent Blisters from Mountain Biking: What to Look For in MTB Gloves
Mountain Bikes and Gear
Readers' Choice: The 10 Best Fat Bikes
3
Clothing
How To Start Mountain Biking: A Complete Guide to the Bike Gear You Need
Mountain bikes
Buyer's Guide: Budget Hardtail Mountain Bikes
28
Mountain Bikes and Gear
Buyer's Guide: Budget Fat Bikes Under $1500
24
Tires
44 Fat Bike Tires: A Comprehensive Guide
7
Accessories
Stocking Stuffers for Any Mountain Biker: All 10 Gifts for Under $100
3
Grips
The best mountain bike grips, according to our editors and readers
12
Pedals
The Best Mountain Bike Pedals for Every Type of Riding
21
MTB Tips
How To Choose Your First Mountain Bike
19
Dropper Posts
How to Choose the Best Dropper Post: A Buyer's Guide
8
Handlebars
The Best MTB Handlebars: A Buyer's Guide
3
Mountain Bikes and Gear
Fat Bike Buyer's Guide: High-End Models
12
Mountain Bikes and Gear
Fat Bike Buyer's Guide: Mid-Range Models
8
Wheels
How to Choose the Best Mountain Bike Wheels
15
Brakes
How to Choose the Best Mountain Bike Brakes in 2025: A Buyer's Guide
5
Bike Racks
How To Transport Your Mountain Bike
41
Mountain Bikes and Gear
Upgrading Your MTB Suspension Fork
11
Mountain Bikes and Gear
Mountain Bike Helmet Camera Buyers Guide
7
Mountain Bikes and Gear
GPS Buyers Guide for Mountain Bikers
6

 2
2