Trails
Reviews
Tips
Community
Deals
Latest
Support
Trails
Find trails
Best bike trails
Destinations
Add a new trail
Reviews
Mountain bike reviews
Components
Tires
Clothing & shoes
Helmets
Accessories
Product news
Community
MTB Clubs
Races & Events
Bike Shops
Tips
Skills
Fitness & Training
Health & Nutrition
Beginners
Repair
Latest Articles
Podcast
Deals
Support Singletracks
Sign in
Create an account
About us
Newsletter signup
Bottom Bracket
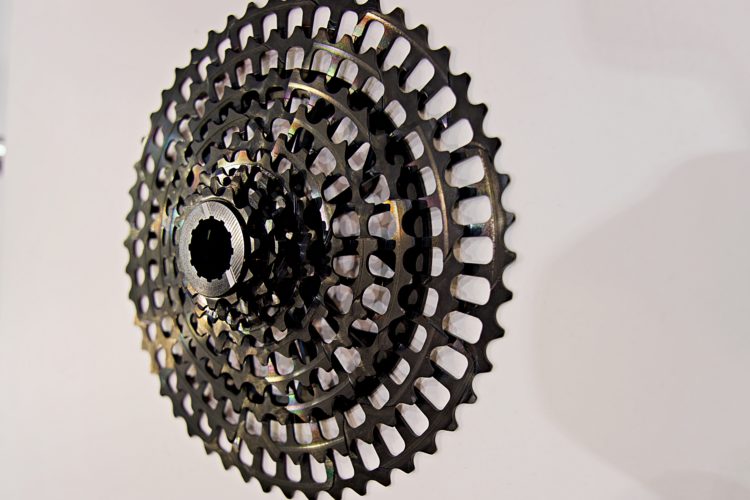
Drivetrain
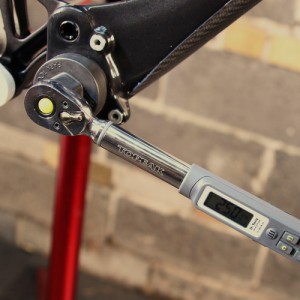
Bottom Bracket Service: How to Maintain and Replace Yours
Drivetrain
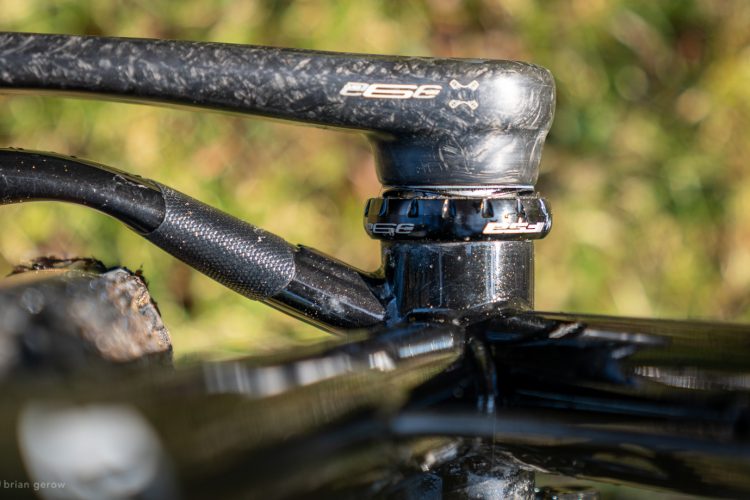
How to Find the Right Bottom Bracket for Your Mountain Bike
Components
Some Mountain Bike Frames and Components are More Home-Mechanic Friendly than Others
Mountain Bikes and Gear
Can't Stop: Tips for Winterizing Your Mountain Bike
6
Culture
New Mountain Bike Drivetrain Products from Eurobike, Plus Pedals, Rims, and Handlebars
4
Cranksets
Rotor Kapic XC Cranks are Trail Tough, With 30mm BB Option to Fit All Frames
1
Community
RaceFace Atlas Crank: Reviewed
Mountain Bikes and Gear
RaceFace Turbine 2x10 Crankset & Bottom Bracket Review
6
Mountain Bikes and Gear
2012 DH Bike Build: Installing the Drivetrain
8
Mountain Bikes and Gear
How to replace your bottom bracket
1


 6
6