As we all know, the POV camera market is dominated by one brand: GoPro. In our Best MTB Gear of 2015 survey, they were miles ahead of second place Sony. That said, Sony is no stranger to the electronics market, and their cameras in particular are widely-praised. Did Sony hit a home run or ground out with their latest Action Cam? Read on to find out.

Specs
Right off the bat, let’s address that long-winded name: Sony FDR-X1000VR 4K Action Cam. It’s confusing–especially since it doesn’t seem to fall in line with the naming convention on their other Action Cams–but I’ll help you decipher it.
- FDR–a shoutout to our 32nd President, Franklin Delano Roosevelt (actually, I have no idea)
- X1000V–Sony’s current top-of-the-line POV cameras
- The “R” at the end of X1000VR let’s you know that this camera was bundled with Sony’s Live-View Remote
- 4K–this camera shoots at four times the resolution of 1080 HD
For those that really like to nerd out over technical details, here you go:
- Sensor
- 1/2.3 in-type back-illuminated Exmor R® CMOS
- 8.8 MP effective resolution for both video and stills
- Lens
- 170-degree ZEISS® Tessar® Lens
- Max aperture F2.8

Of course, there is a dizzying array of shooting modes, both for video and stills, that I won’t confuse you with. Just know, if you’re looking for a particular mode or format, the Sony can likely accommodate.
In terms of the form factor, the Action Cam is small, weighing in at 114g (4oz) with the battery pack installed, but excluding the case. It measures 24mm X 52mm X 89mm (1in X 2 1/8in X 3 1/2in), or roughly the size of a Clif Bar sans wrapper. The camera itself is IPX4-class splash-proof certified, which means you can use it without the included waterproof case for the majority of your rides. This is a really nice touch, as the case adds a considerable amount of weight and bulk to the camera. With the case, the camera weighs 200g (7oz).

If you’re filming in the pouring rain, you should put the case on, but you don’t need to worry about sweat or the occasional puddle splash without it. With the case on, you can take the Action Cam down to 10m (34ft), but you likely won’t be mountain biking at those depths unless something has gone terribly wrong.
The 4K Action Cam bundled with the Live-View Remote retails for $600. Without the remote, it’s available for $500. Still too rich for your blood? Sony offers more basic Action Cams starting at $200.
Mounting
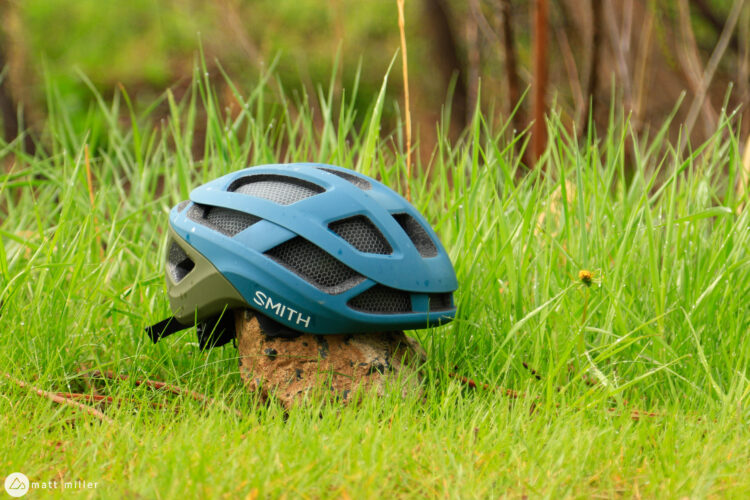
Sony included a couple of adhesive mounts in the bundle and sent a handlebar mount ($30) separately. They look similar to GoPro mounts, but the clip that Sony uses is substantially larger. No cross-compatibility there. While the mounts have an adhesive back, they also have slots to feed a strap through. This means that you can use a Velcro strap to attach the base to a helmet. I found this very handy, as there isn’t always a good, flat surface on a helmet to stick a mount to.
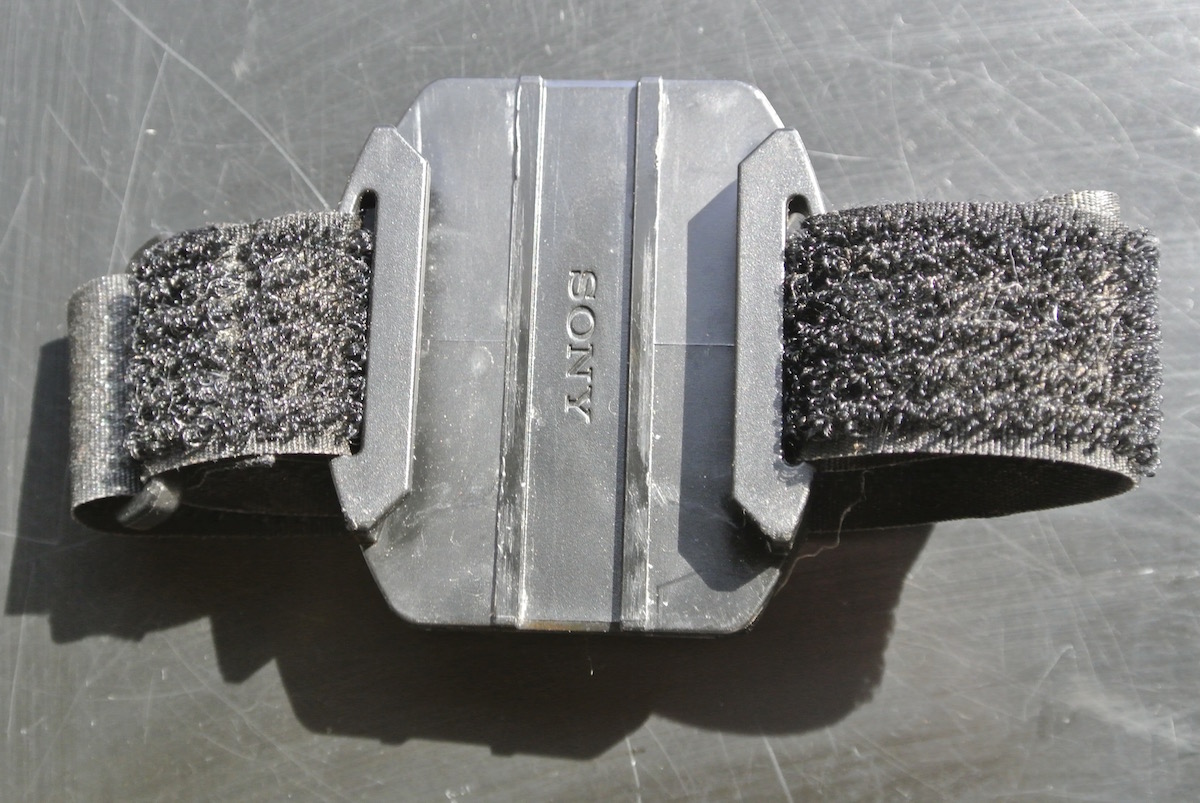
Something to consider is that with the included mounts, there is no way to tilt the camera like you can with the GoPro. You have to find the sweet spot on your helmet for the field of view. Good thing you can go through some trial and error using a strap before committing to sticking the mount to your helmet.
Without the waterproof case on, I didn’t notice the camera on my helmet. Of course, there was some added weight, but nothing too distracting. Once I put the case on, though, it’s a different story. Not only does the case add a considerable amount of weight, it also puts the camera much higher up, making the increased weight that much more noticeable. Due to the form factor of the Action Cam, there isn’t a way around this.
The handlebar mount is substantial and is easy enough to attach, but in practice, I found it not to be of much use for mountain biking. You can tilt the mount up or down, but this creates a bit of play in the mount. If you’re riding anything remotely bumpy, the footage is too shaky to use. I was bummed to find this out only after I had recorded a ride in Bend, OR, this summer. Even with Sony’s SteadyShot enabled, the footage gave me motion sickness when I played it back. I’ll spare you from watching that.
Other options, such as a chest mount, are available separately.
Operation
You want options? The Action Cam has them in spades. Navigating those options, however, can be a major pain in the ass. On the right side of the camera there is a small LCD screen that packs in a lot of info about your current settings. It’s also what you use to work your way through the menus.
At the top level menu there is a list of five different Modes along with Setup, Play, and Power Off. Choosing Setup then takes you to a list of 16 options where you can adjust everything from the image quality to white balance. But wait, there’s more! At the end of the Setup menu, you can access Configuration Settings. There are an additional 18 options within the Configuration menu. These have more to do with turning on/off Wi-Fi, GPS, sounds, etc., so you won’t be using them that often. Still, that’s a lot of stuff to work through.
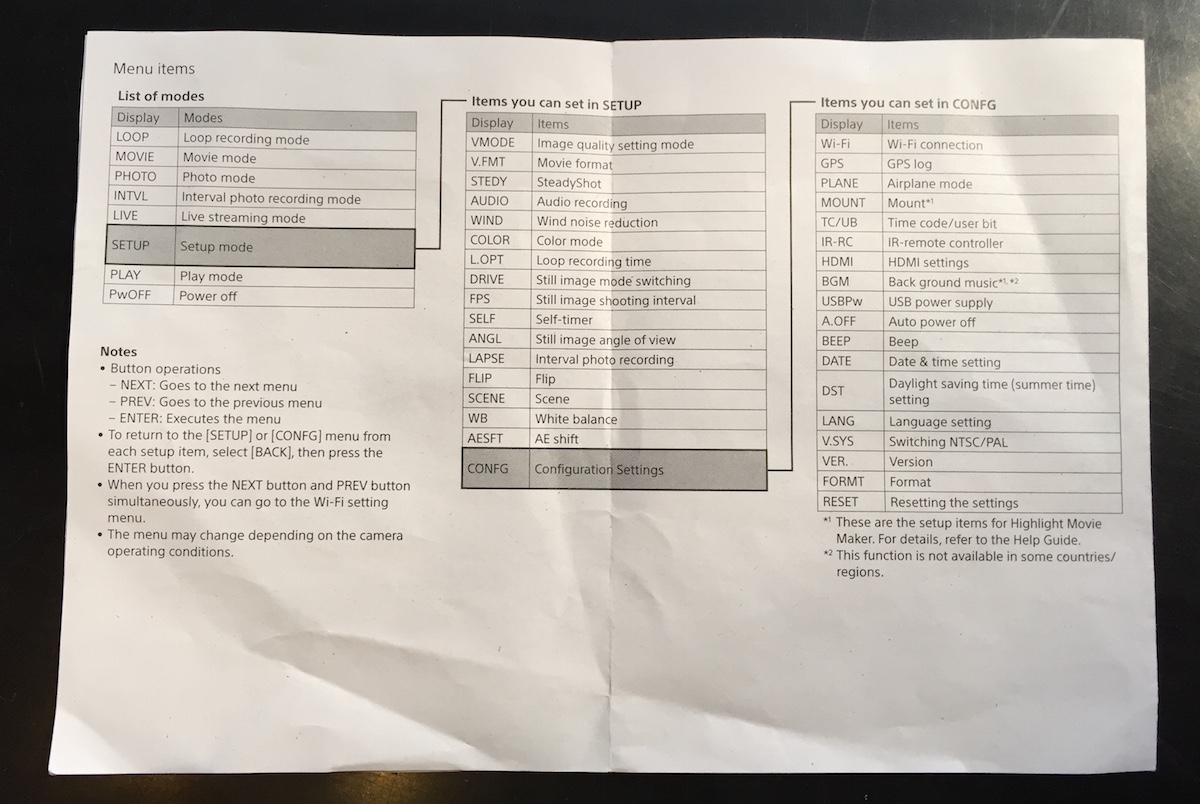
Frustratingly, once you make a change to one of the settings, it takes you back out to the main Modes menu. If you want to change another setting, you have to drill down into the various options again. To be fair, though, GoPro’s menus aren’t that simple to navigate, either.
After you have all your settings where you want them, it’s just a matter of pressing the record button on the top of the camera or on the optional Live-View Remote. The recording button could be a little tricky to find while wearing gloves, and the lack of a blinking red light on the front of the camera led to a few “is it on?” moments. Most of the time it wasn’t an issue because I could hear the chime of the camera turning on, but on a couple of really windy days I had to take my helmet off to make sure I was indeed recording.
Having the Live-View Remote was great for setting up the shot and starting/stopping the recording. The screen is small, but useful with bright colors. It’s on the bulky side, but not heavy, and I found it comfortable to wear for long periods of time.
Video Samples
Here’s a video I put together of Greg and me testing bikes at OutDoor Demo at Interbike in September.
The colors are nice, if a little over-saturated. Detail, like the gravel bordering the trails, is excellent. I had the Action Cam mounted to my helmet and had SteadyShot engaged. The footage is almost eerily steady. Using SteadyShot does decrease the field of view from 170-degrees to 120-degrees, but that’s still wide enough for most of us mountain bikers. It also creates a bit of a notchy look to the video, as you can see a little better below.
Still Samples
At just 8.8 MP, the Sony doesn’t wow you with its pixel count. That stat doesn’t always tell the whole story, though, as my iPhone 6 has “only” 8 MP, but can take excellent photos. However, with the Action Cam, I only found the stills to be average at best. As with the video, stills are over-saturated, but even more so. Also, they’re over-sharpened and grainy when you zoom in on them. The photos I take on my phone are certainly more crisp.
I used the Interval Shooting mode to take the stills below. The camera was set up to take one shot per second until you stop it, or the memory card fills up. The first two are straight from the camera with no editing, the last shot of me crashing has been edited.


Considering how good the video out of this little camera looks, the stills are disappointing. I know that a video camera is intended to shoot video, but it would be nice to see a higher level of quality in the stills, particularly at this price.
Conclusion
If you’re in the market for a high-end POV camera, the Sony 4K Action Cam is certainly worth checking out. That of course, is assuming you’re not just upgrading your out-dated GoPro. Got a drawer full of GoPro mounts and accessories already? I wouldn’t recommend jumping ship for Sony.
The video quality is excellent on the Sony FDR, and while most of us won’t be able to fully utilize the 4K settings, it’s nice to have that bit of future-proofing. People who want a lot of control over their camera will enjoy the Sony, once they figure out how to navigate the various menus. The SteadyShot feature is very useful, especially if you plan on attaching your Action Cam to a drone.
As stated, stills aren’t the Sony’s strong suit, so if you plan to take lots of stills with your POV camera, it probably isn’t for you. If you’re just looking for a basic POV camera, there are less expensive options. But if you were, you wouldn’t be reading this review anyway.

The Live-View Remote, while not essential, does make operating the camera much easier. Note that you can also download Sony’s Action Cam app and use your smartphone for setting up shots.
While the Sony retails for $600 bundled with the Live-View Remote, it’s widely available for $550. When you consider that the Sony’s main competitor the GoPro HERO4 Black is $500 without a screen or remote (each cost an additional $80), it makes for a tougher decision.
Thanks to Sony for providing the 4K Action Cam for review.