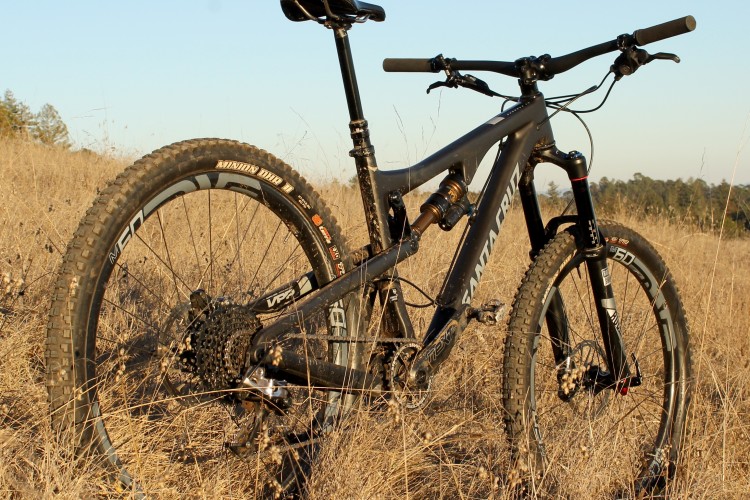
This is the final post in a series of how-to articles describing my 2012 DH bike build, the Santa Cruz V-10.
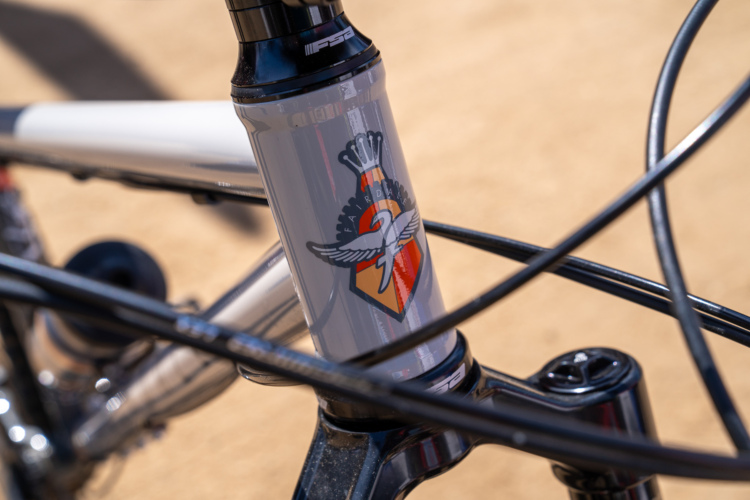
Stem and Bar Installation


Before shifters and brakes could be installed, I had to get the stem and bar on the fork. I decided to throw on a matching 50mm Holzfeller direct mount stem and a Boobar (also from Truvativ). Both went on with no trouble at all. Always follow the manufacturer’s torque specs and torquing sequence to prevent stress risers which could cause failure.
Brake Lever and Shifter Installation


Once my cranks and chain guides were set, I worked on installing the brake levers and shifter. I opted to use the Matchmaker X on the rear shifter just to make for a cleaner install and one less clamp on my bar, which is always a good idea with carbon bars.


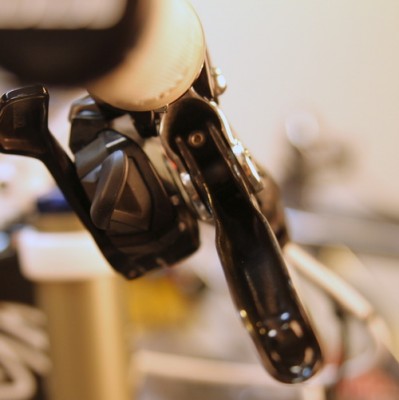
Setting the angle of all the controls is next. I tend to start by carefully sliding the brakes and integrated shifter in place first, then my grips second. Tightening down the grips, I then set both the angle and spacing of the brake levers. Finally, I torque them down with the recommended amount of force. In case you’re wondering, the brake levers and shifter angle should be set with you in your normal riding position. The pathway of your hand/wrist should either be straight (more of an attack feel) or require a slight lift of the wrist.
That’s it! My V-10 has been built up for several weeks now and I’ve already had a chance to rail the local trails a bit. Look forward to more detailed product and frame reviews this spring.