Trails
Gear
Community
Tips
Deals
Latest
Support
Trails
Find trails
Best bike trails
Destinations
Trail news
Add a new trail
Gear
Mountain bike reviews
Components
Tires
Clothing & shoes
Helmets
Accessories
Repair
Product news
Community
Forums
MTB Clubs
Races & Events
Bike Shops
Tips
Skills
Fitness & Training
Health & Nutrition
Beginners
Repair
Latest Articles
Podcast
Deals
Support Singletracks
Sign in
Create an account
Merch
About us
Newsletter signup
Singletracks
mountain bike fit
Longer Bikes Could be Giving us More Hip and Back Problems
sponsored
Spring Mountain Bike Essentials from Diamondback, Crank Brothers, POC
product picks
Hot Deals on Niner & Yeti Bikes, Troy Lee Helmets & Apparel
product picks
Don't Forget These Products on Your Next MTB Road Trip
product picks
Save 20% Off the Good Stuff with these Coupons
product picks
Can't Miss Deals On Yeti SB130, Dakine Gear, Tires and All the Bike Things
sponsored
MTB Deals: Up to 40% Off Tires and Components at Competitive Cyclist
product picks
MTB Wheels and Tires for Gravity & Trail Riding
product picks
January MTB Product Reviews: Industry Nine & Shimano Wheels, Bikes from Deviate & Moots, Training Tools, and More
product picks
Mountain Bike Deals to Make Winter Suck Less
product picks
Get Organized for Mountain Biking with these Handy Products
product picks
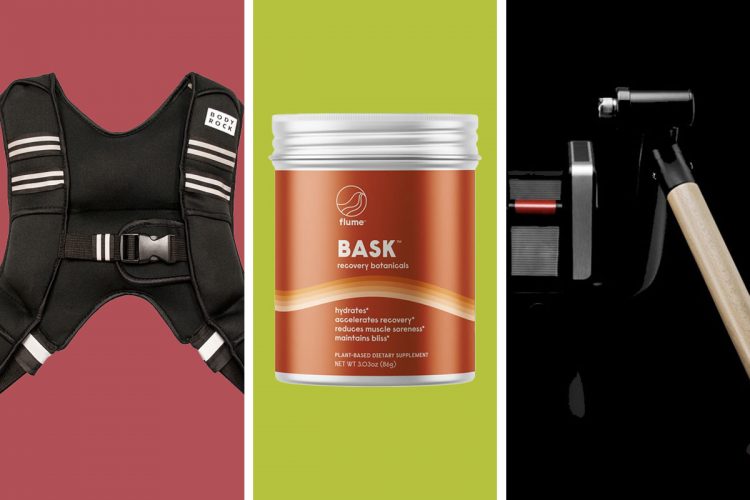
MTB Training Product Picks: Make 2021 Your Strongest, Healthiest, and Least Injured
December MTB Product Reviews: 12-Speed Shimano Drivetrain, Stash Tools, and Bikes from Privateer, Juliana, Specialized, Sunn
Catch up on our mountain bike and gear reviews from the past month.
TMYK: Add Singletracks to your Home Screen
It's easy to add a Singletracks shortcut to your smartphone for quick access to trail info and the latest mountain bike news.
Layer Up With This Mountain Bike Gear for All-Weather Riding
Riding in cold temps or with the threat of some showers won't stop you from mountain biking. Bring on the winter layers and weatherproof gear from Competitive Cyclist.
The Best Singletracks Mountain Bike Reads of 2020
Here are our favorite reads of the year, written by Singletracks staff and contributors.
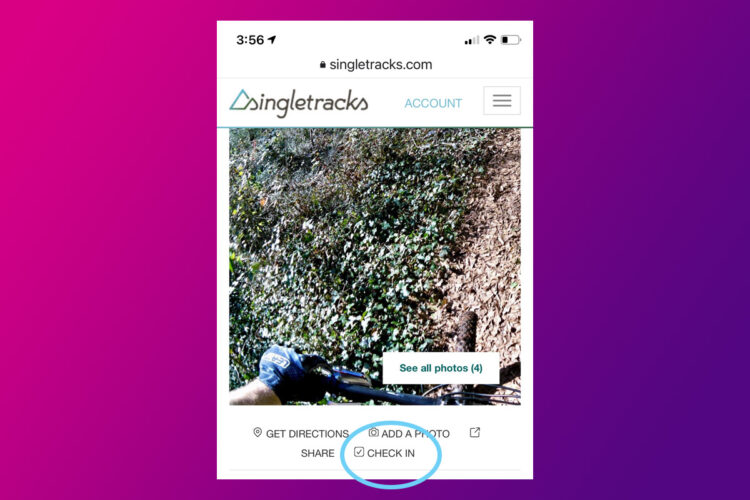
TMYK: How to Play the Singletracks Trail Challenge
Check in when you ride trails to earn badges and track the places you've mountain biked.
Most Popular Mountain Bike Gifts of 2020 (so far)
We round up the MTB gear Singletracks readers are buying this year.
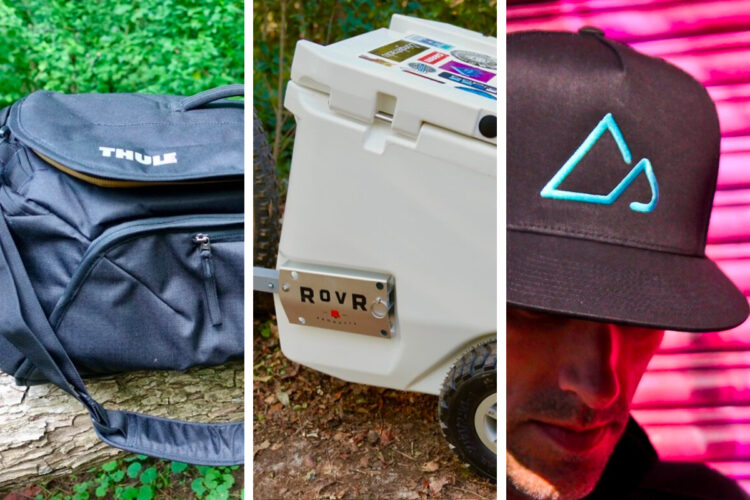
Après Bike Gear for Mountain Bikers
Check out these picks to keep those post-ride beverages at hand as well as some layers and accessories to reach for when your ride is done.
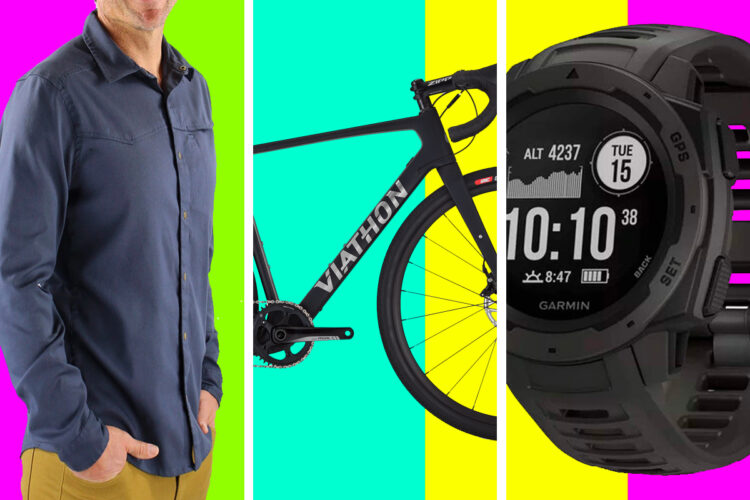
28 Cyber Monday Mountain Bike Deals That are Actually in Stock
Including a $1600 Carbon Gravel Bike, a $50 tool kit and at least 4 coupon codes for bonus savings.
November MTB Product Reviews: YT Izzo, PNW Loam Dropper, Tires, Lights and More
This month we reviewed the new YT Izzo bike and the PNW Loam Dropper post, plus mountain bikes from Rocky Mountain, Jamis and Banshee.
Save 20% or More on Smith, Evil, Shimano, Pearl Izumi
Save 20% or More at Competitive Cyclist's Black Friday Sale.
more articles