“It was the best of times, it was the worst of times…” With that opening line I’m pretty sure that Charles Dickens was a fat bike early adopter when he wrote A Tale of Two Cities in 1859. In seven weeks of fat bike ownership we have experienced both the best and worst of rides. In that time we have learned a lot about how to avoid frustration and how to ensure a fun fat bike ride.
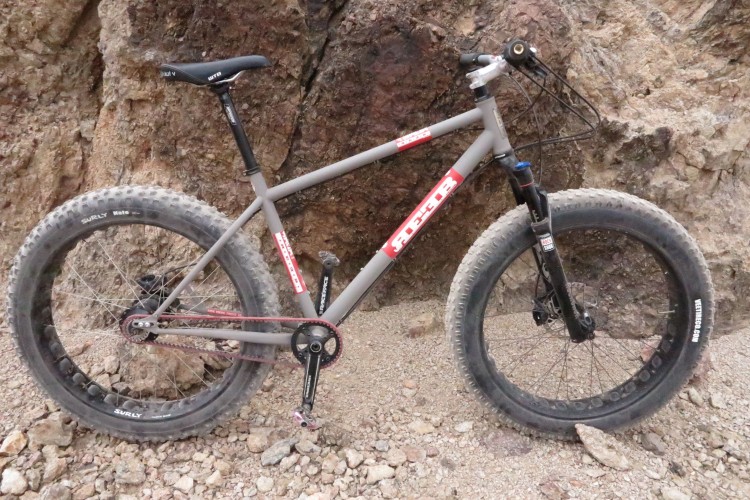
On January 20th, we took Boneshaker Cycles’ last two Norco Bigfoot fat bikes out for a trial ride before committing to purchase.

For the first shakedown ride, we went to a non-groomed snowmobile trail at Cottonwood Lake. From there we headed up the road to ride several miles up groomed Cottonwood Pass.

We were stoked, and handed over the credit card the next day. So began our fat biking trials and errors. Here is how you can skip the errors, avoid frustration, and fast forward to fatbike fun:
1. Get the fit right.
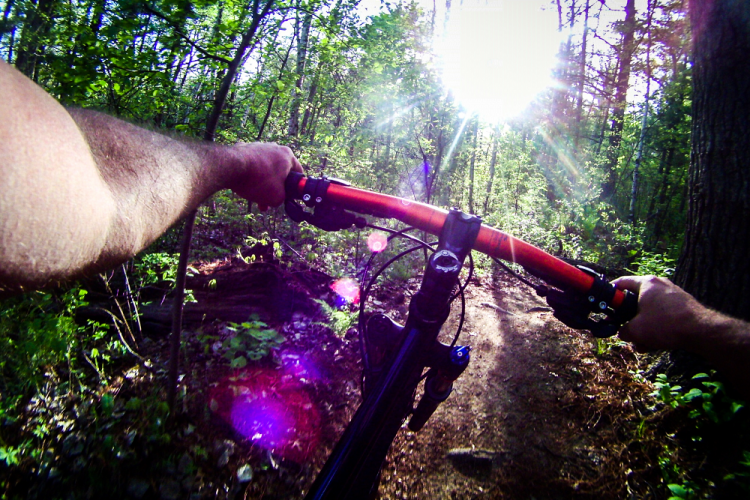
Curb your enthusiasm and do this before you climb for several miles. If every other bike you own has the same women’s saddle, setup the same way, it is highly unlikely that the stock saddle on your new fat bike will “be okay.” It won’t. I am fortunate that my husband is a skilled bike mechanic and that he set up my Bigfoot the way I like it the very first day it was mine. He cut down the bars by 3 inches, flipped the stem and removed the headset spacers to lower the bar height, rotated the brake levers, and moved the saddle back as far as it would go.

I didn’t like the wide bars and exaggerated upright position, but with the changes it fit me and the way I like to ride. None of it, however, fixed the saddle, and I paid the price for impatience. We ended up using the saddle from my regular mountain bike until my new one arrived, which I should have ordered right from the get-go.
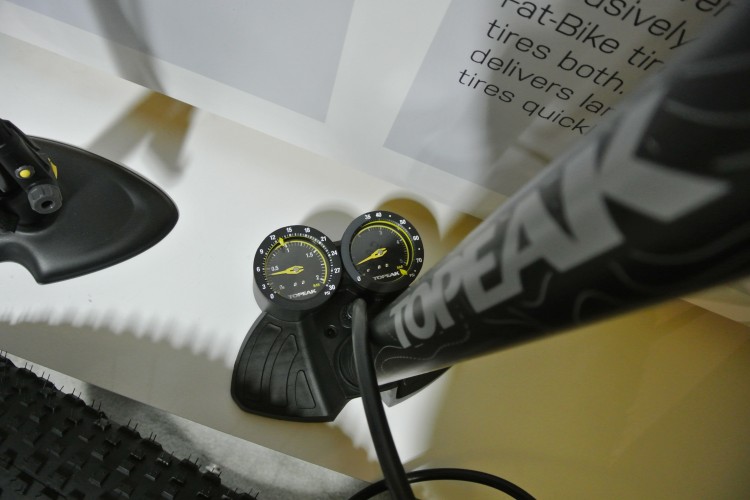
2. Get a low pressure gauge and a high volume hand pump.
The purpose of wide tires is to provide greater traction and flotation than regular mountain bike tires. Getting that flotation right is an artful science, and is a huge factor in fun riding. Getting your pressure wrong is a prime frustration factor. Admittedly, we kind of geek out on data, but we take the gauge, pump, and a small notebook on every ride.

We are now honing in on what pressure works for each of us in specific conditions. I weigh about 30lbs less than Scott so I usually run 1-2psi lower pressure than he does. Soft snow requires lower pressure than hard packed, firm snow, and generally we run lower rear pressure than front.
Scott learned how much pressure matters following an attempt to ride a soft snowmobile trail. Though it was freshly groomed, there had been a lot of recent snow. My pressure was dialed in and I ended up quite a bit ahead of Scott. In frustration, he stopped to let air out, but had no idea how much since I carry the gauge. By the time we reconnected, the snow was getting deep and soft enough that we descended and headed for a nearby ski trail which climbs for the first six miles. Though Scott is usually ahead of me on extended climbs, he kept lagging behind on the hard-packed surface. He eventually remembered the earlier release of rear tire pressure, checked to find it at 4.0psi, pumped it up to 6.75psi, and fully enjoyed the rest of the ride. Frustration-to-fun in 2.75psi! It’s important to use a sensitive gauge, as a little bit of air can make all the difference between slipping and gripping.
3. Know the conditions.
Yes, fat bikes are great for riding in the winter… no, they don’t allow you to float on top of deep snow, and all snow is not created equal. Here in the Sawatch Range of Colorado we generally get dry, powdery snow, and most routes ascend for miles before descending. We’ve learned that ascending requires firm, consolidated snow, which is rare after a fresh snowfall, but very likely after a bit of sunshine warms it up and traffic tamps it down. That traffic can be from cars, skiers, snowshoers, snowmobiles, and groomers. We have had a couple fun rides on unplowed roads by riding up single car tire tracks and down in fresh powder, and on snowshoed-in singletrack hiking trails.


We’ve learned that groomed snowmobile trails can be unpleasant to ride after a major dump, but are grin-plastering fun several days after.


Shared-use cross country ski trails are generally groomed frequently enough to be reliable fun.


One of the most amazing attributes of fat bikes is their ability to take on transitional conditions. Recently we rode an 8-mile loop that appeared unrideable. It included mud, deep slush, snow, sand, and water.


Astonishingly, over 95% of the route was rideable. (Note: no trail damage worries, the ride was all on motorized 4×4 roads). Bottom line: we’ve learned to try everything and know when to bail if it’s not fun. Why grimly struggle in frustrating conditions when there will be a better day?
4. Dress for success.
Know where you’re riding (see #3) and prepare for those conditions and worse. The first element to address is footwear and pedal choice. For our first rides we used flat pedals and wore our usual winter boots, Steger Mukluks, for warmth.

That combo worked, and certainly provided the warmth that we needed on descents. We did get a bit frustrated by a few issues, such as: pedals icing up, feet bouncing off pedals on rough descents, and lack of climbing efficiency. So, we decided to experiment with our Crank Bros. Eggbeater pedals and old Lake winter bike boots.

So far, so great! I love the familiar feel of control and climbing ease that the clipless pedals provide. The Eggbeaters shed snow, mud, and sand just fine, and they’re set loose enough that I’m out in a heartbeat in sketchy terrain.
I firmly believe that it is important to avoid the temptation to overdress. Riding in challenging conditions, such as ascending a mountain pass, works up a major sweat. Descending, however, gets cold quickly, so carrying options is vital. I would rather ride with layers I don’t use, than desperately wish I had layers that aren’t available. I always start with a light wool base layer and carry a variety of gloves, mittens, skull cap, earband, wind pants, and jacket.
With a bit of experimenting, experience and planning, the opening line in A Tale of Fat Biking Fun, would be “Every ride is the best of times!”