It’s winter. It’s cold. There may or may not be snow on the ground where you live, but despite all that, you probably want to extend your mountain biking season into the “off” season.
Here are some winter clothing and gear tips to help you do so comfortably. While this is mostly aimed at fat biking, the underlying principles can apply to regular mountain biking, cyclocross, and even road biking.
The most obvious issue when cycling in the cold is, well, not being cold. The biggest challenge here is the extremities. Hands and feet don’t move much, but are subjected to the worst of the icy wind generated from moving at biking speeds.
[see_also id=”38441″][/see_also]
Hands
For hands, depending on how warm or cold you are anyway, start with winter-specific cycling gloves. When looking at gloves, look for models with insulation within and wind blocking material on the top. Gloves designed for cyclocross are a good place to start. On the flip side, heavily-insulated ski or work gloves may seem like a good idea, however without the wind blocking top layer, your hands will still get cold once you start moving.
For extreme cold, there are products referred to as “pogies” or “bar mitts.” These are oversized, insulated mitts that mount on the handlebars and cover everything: brake levers, shifters, grips, etc. You simply slip your whole forearm into the mitt, with or without a thinner pair of gloves, and boom! Warm hands! Some riders even stow their camera, mobile phone, snacks or other odds and ends in there to keep them from freezing. Dogwood Designs and Bar Mitts are both popular brands in this segment.
Feet
Keeping your feet warm is a whole other issue, and is definitely the biggest challenge faced by winter cyclists. By design, feet don’t flex much while pedaling, and when you add the wind chill it’s a recipe for frozen toes. The traditional approach is to wear regular summer shoes with wool socks and toe covers, or even whole foot covers. Just like gloves, these come in all price ranges, and you’ll still want to look for ones with wind-blocking material. For moderately-cold rides this can be an effective and inexpensive solution, but once the temps drop to the single digits it may not be enough.
Fortunately, the advent of fat biking has given rise to a whole category of winter footwear that didn’t exist just a couple of years ago.

The Expensive Approach
If money is no object, there are some amazing winter-specific cycling shoes/boots that are comfortable, stiff, and warm. By far the most popular entry in this category is the WÖLVHAMMER from 45NRTH. Based in Minnesota, 45NRTH knows cold weather, and they have the product base to prove it. On the other hand (foot?), all that warmth and technical goodness come at a steep price of about $325 for the SPD version.

The Ghetto Approach
Okay, so if the cost of the Wolvhammers has you checking your health insurance coverage and calculating the net worth of your piggies, do not despair! There is a cheaper way!
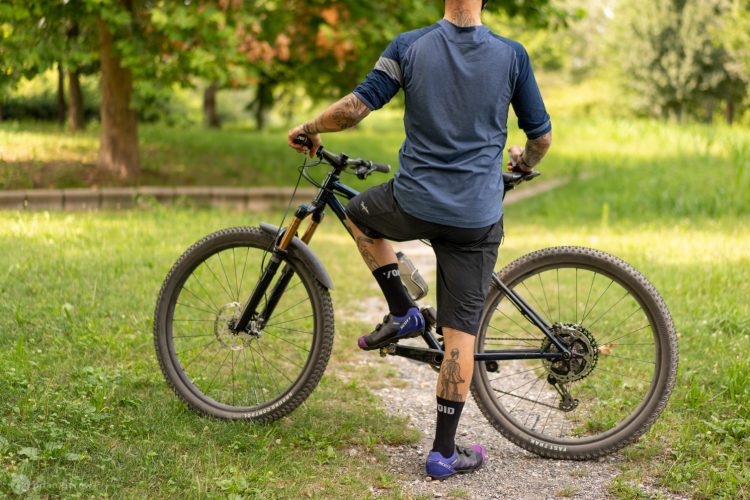
While riding clipped in is effective for power transfer and balance, especially if that is what you are accustomed to or if you are riding ‘cross or road, in fat biking it’s not really a need. A fat bike in the snow works just fine with flat pedals and good ol’ stomp-around winter boots. When going this route, you can use cheap, plastic pedals, like the ones on a bike in the showroom. Alloy pedals are ok, but plastic will better resist ice or snow build up.
If you already have winter boots that you like, try them. If you are shopping for a cheap winter boot specifically for snow biking, look for Sorels, Kamiks, or a similar model. Ones that have an outer leather/rubber construction with an inner, removable liner are especially good, as you can wash the sweat out of the liner as needed. Using this method can result in toasty toes for under $100… or even under $15 if you already have some boots. I went this route for the recent Global Fat Bike Day group ride, and even with temps hovering around 0 and speeds of 15+ mph, my feet were nice and warm. One caveat, though: while the ghetto method will definitely keep you warm on the cheap, on longer rides you will most likely feel some cumulative fatigue from not being clipped in.
Upper body
Layers, layers, LAYERS! It can’t be stressed enough! Here is a sample upper body setup that should work for most warm-blooded mammals:
- Thermal, wicking undershirt such as PolyPro or SmartWool. ($20 range or $75, respectively) This should be long enough to tuck-in to prevent drafts.
- Micro-fleece pullover
- Thicker fleece or down filled vest
- GORE-TEX® or similar waterproof, breathable, windblocking outer shell.
The Micro-fleece and vest can be swapped in or out as needed depending on ambient temp and exertion level, but the real key is the base layer and outer shell. When shopping for the outer shell, don’t skimp! The big name brands like North Face and Marmot are awesome and they are used on major expeditions for a reason. Store brands like REI, LL Bean or Campmor provide a good value and will work well, but will be a little thicker and heavier. Get this part right, and everything else will be easier.
Lower Body
Since the legs are doing most, if not all of the work here, keeping them warm isn’t too bad. The two main goals are to keep the knees warm, and to keep stray clothing out of the chainrings.
Similar to the upper body, start with a thermal, wicking base layer. The obvious choice is to just get the complete set of what was picked for up top. Over the base, go with non-insulated GORE-TEX® or similar shell pants. Models designed for downhill skiing will tend to have articulated knees, with reinforced fabric over the knees and inside the calves and will have velcro or elastic to cinch up the cuffs. This setup translates directly to cycling needs, so go with whatever is comfortable and in your price range.
Head
A lot of body heat is lost through the head, so it’s important to keep things covered… but on the other hand, it’s also a quick and easy way to shed excess heat. In any case, with the core temp properly regulated, the head is easiest of all to manage.
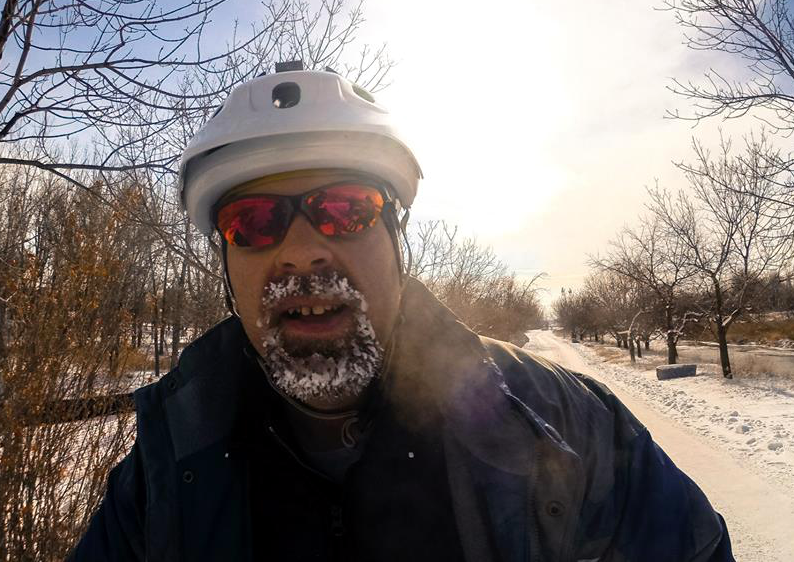
The biggest challenge here is nose or ear frostbite, and general facial discomfort. If you’re male, and can do so, grow a beard. It’s free and it helps. For everyone else, a thin balaclava is a good place to start. Look for one thin and flexible enough to fit under your helmet, and make sure it allows for good air flow for breathing, to help prevent fogging up your eyewear.
If you do have a beard, or just aren’t that cold around the face, another good option is something like the Anti-Freeze line of headwear from Halo. They offer a headband or a full skull cap. Both are insulated with ample ear coverage and both incorporate the patented sweat block channel.
[see_also id=”204223″][/see_also]
Eyes
Last but not least is eye protection. While summer riding is all about sun protection and flying dirt and debris, winter eye protection is focused on snow glare and keeping icy wind off the eyeballs. For moderately cold rides, if everything else is properly handled, a decent pair of riding sunglasses will do just fine.

For extreme cold, though, the obvious choice is to go with full goggles. Ski goggles work great. They are designed to handle snow glare anyway, and they provide good facial coverage as well.
Bottom Line
Due to differing body types and heat thresholds, dressing for the cold is by no means an exact science. Use this guide as a starting point, and experiment with different combinations on short rides around your neighborhood until you find what works for you. Learn to adjust based on current weather and trail type (climbing, flat and fast, etc,) and then GET OUT THERE AND RIDE IN THE SNOW!!
Your Turn: Do you ride during the winter? What have you found to be most effective?