Legions of dedicated mountain bikers in the northern hemisphere are gearing up to ride into winter’s deep freeze like the uniquely trail-obsessed snowflakes we are. We’re adding headlamps to helmets and “waterproof” to our wardrobe description. Not everyone can afford to take on other costly sports like skiing, nor wants to for that matter. For folks who love to slide around in the colder slop, we have a few tips to help prepare your whip.
Editor’s note: If your trails tend to become more white and fluffy than brown and muddy in the winter, check out these tips instead. And as always, be considerate and don’t ride trails if doing so could damage them.
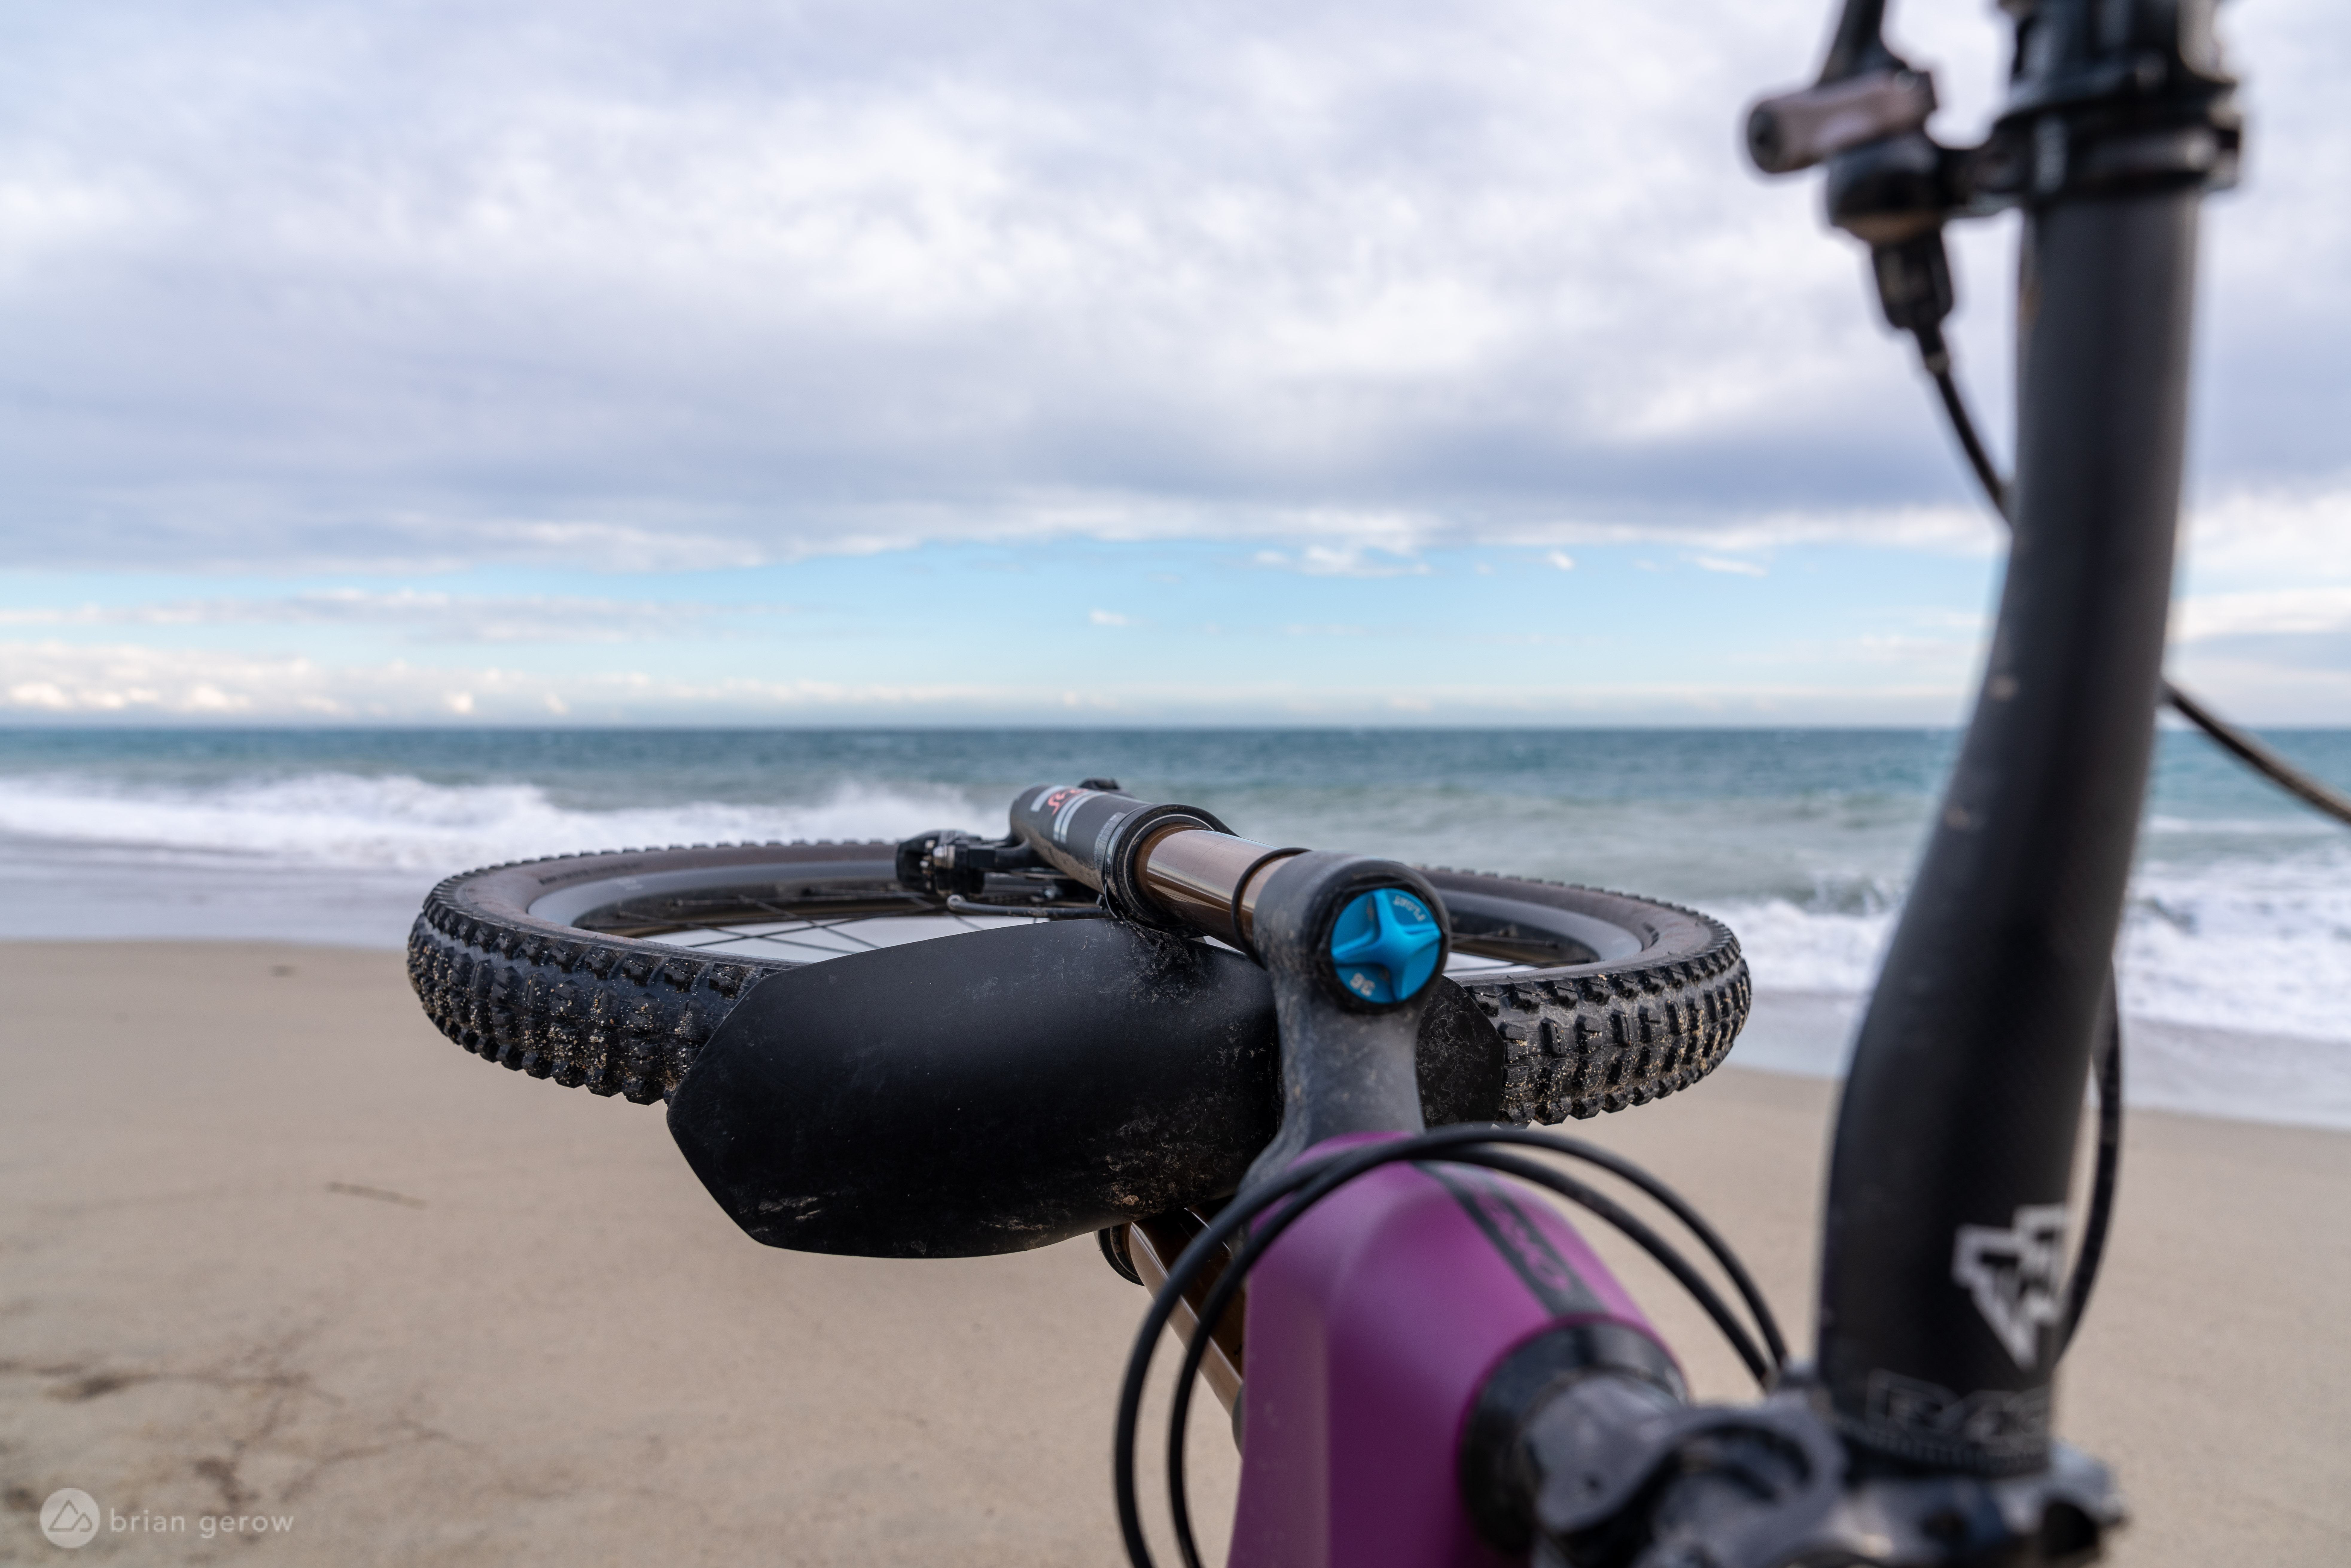
Keeping mud and slush off of your goggles and out of your eyes is a key element of enjoying rides in the wetter elements. Have your pick from the glut of modern mud-guards in all shapes and sizes, or make one yourself from a 2-liter bottle and some zip ties. Some folks like to add a guard to the rear end as well, minimizing the amount of spray that travels directly from the rear wheel to their shock.
Note: If you’re designing your own mudguard, make sure that it clears your bike’s downtube when the fork is fully compressed. You don’t want to boing over the bars when the guard hits your frame, bends into the tire, and becomes lodged between the front tire and your fork.

Now, on to protecting your paint. Some folks like to cover their entire frame with a plastic kit to keep the paint pristine, while others prefer the occasional character scratches. At a minimum, applying a layer of robust tape to the frame where it receives rocks from the front wheel and mud from the rear can help keep the paint looking decent.
In one extra muddy Oregon XC race, my rear tire ate a hole through my titanium frame where the mud-packed tire tread turned like ravenous sandpaper against the seat stay. Tape wouldn’t have prevented this unfortunate event, but it was a good reminder that adding some protection to a frame can thwart a lighter sanding.
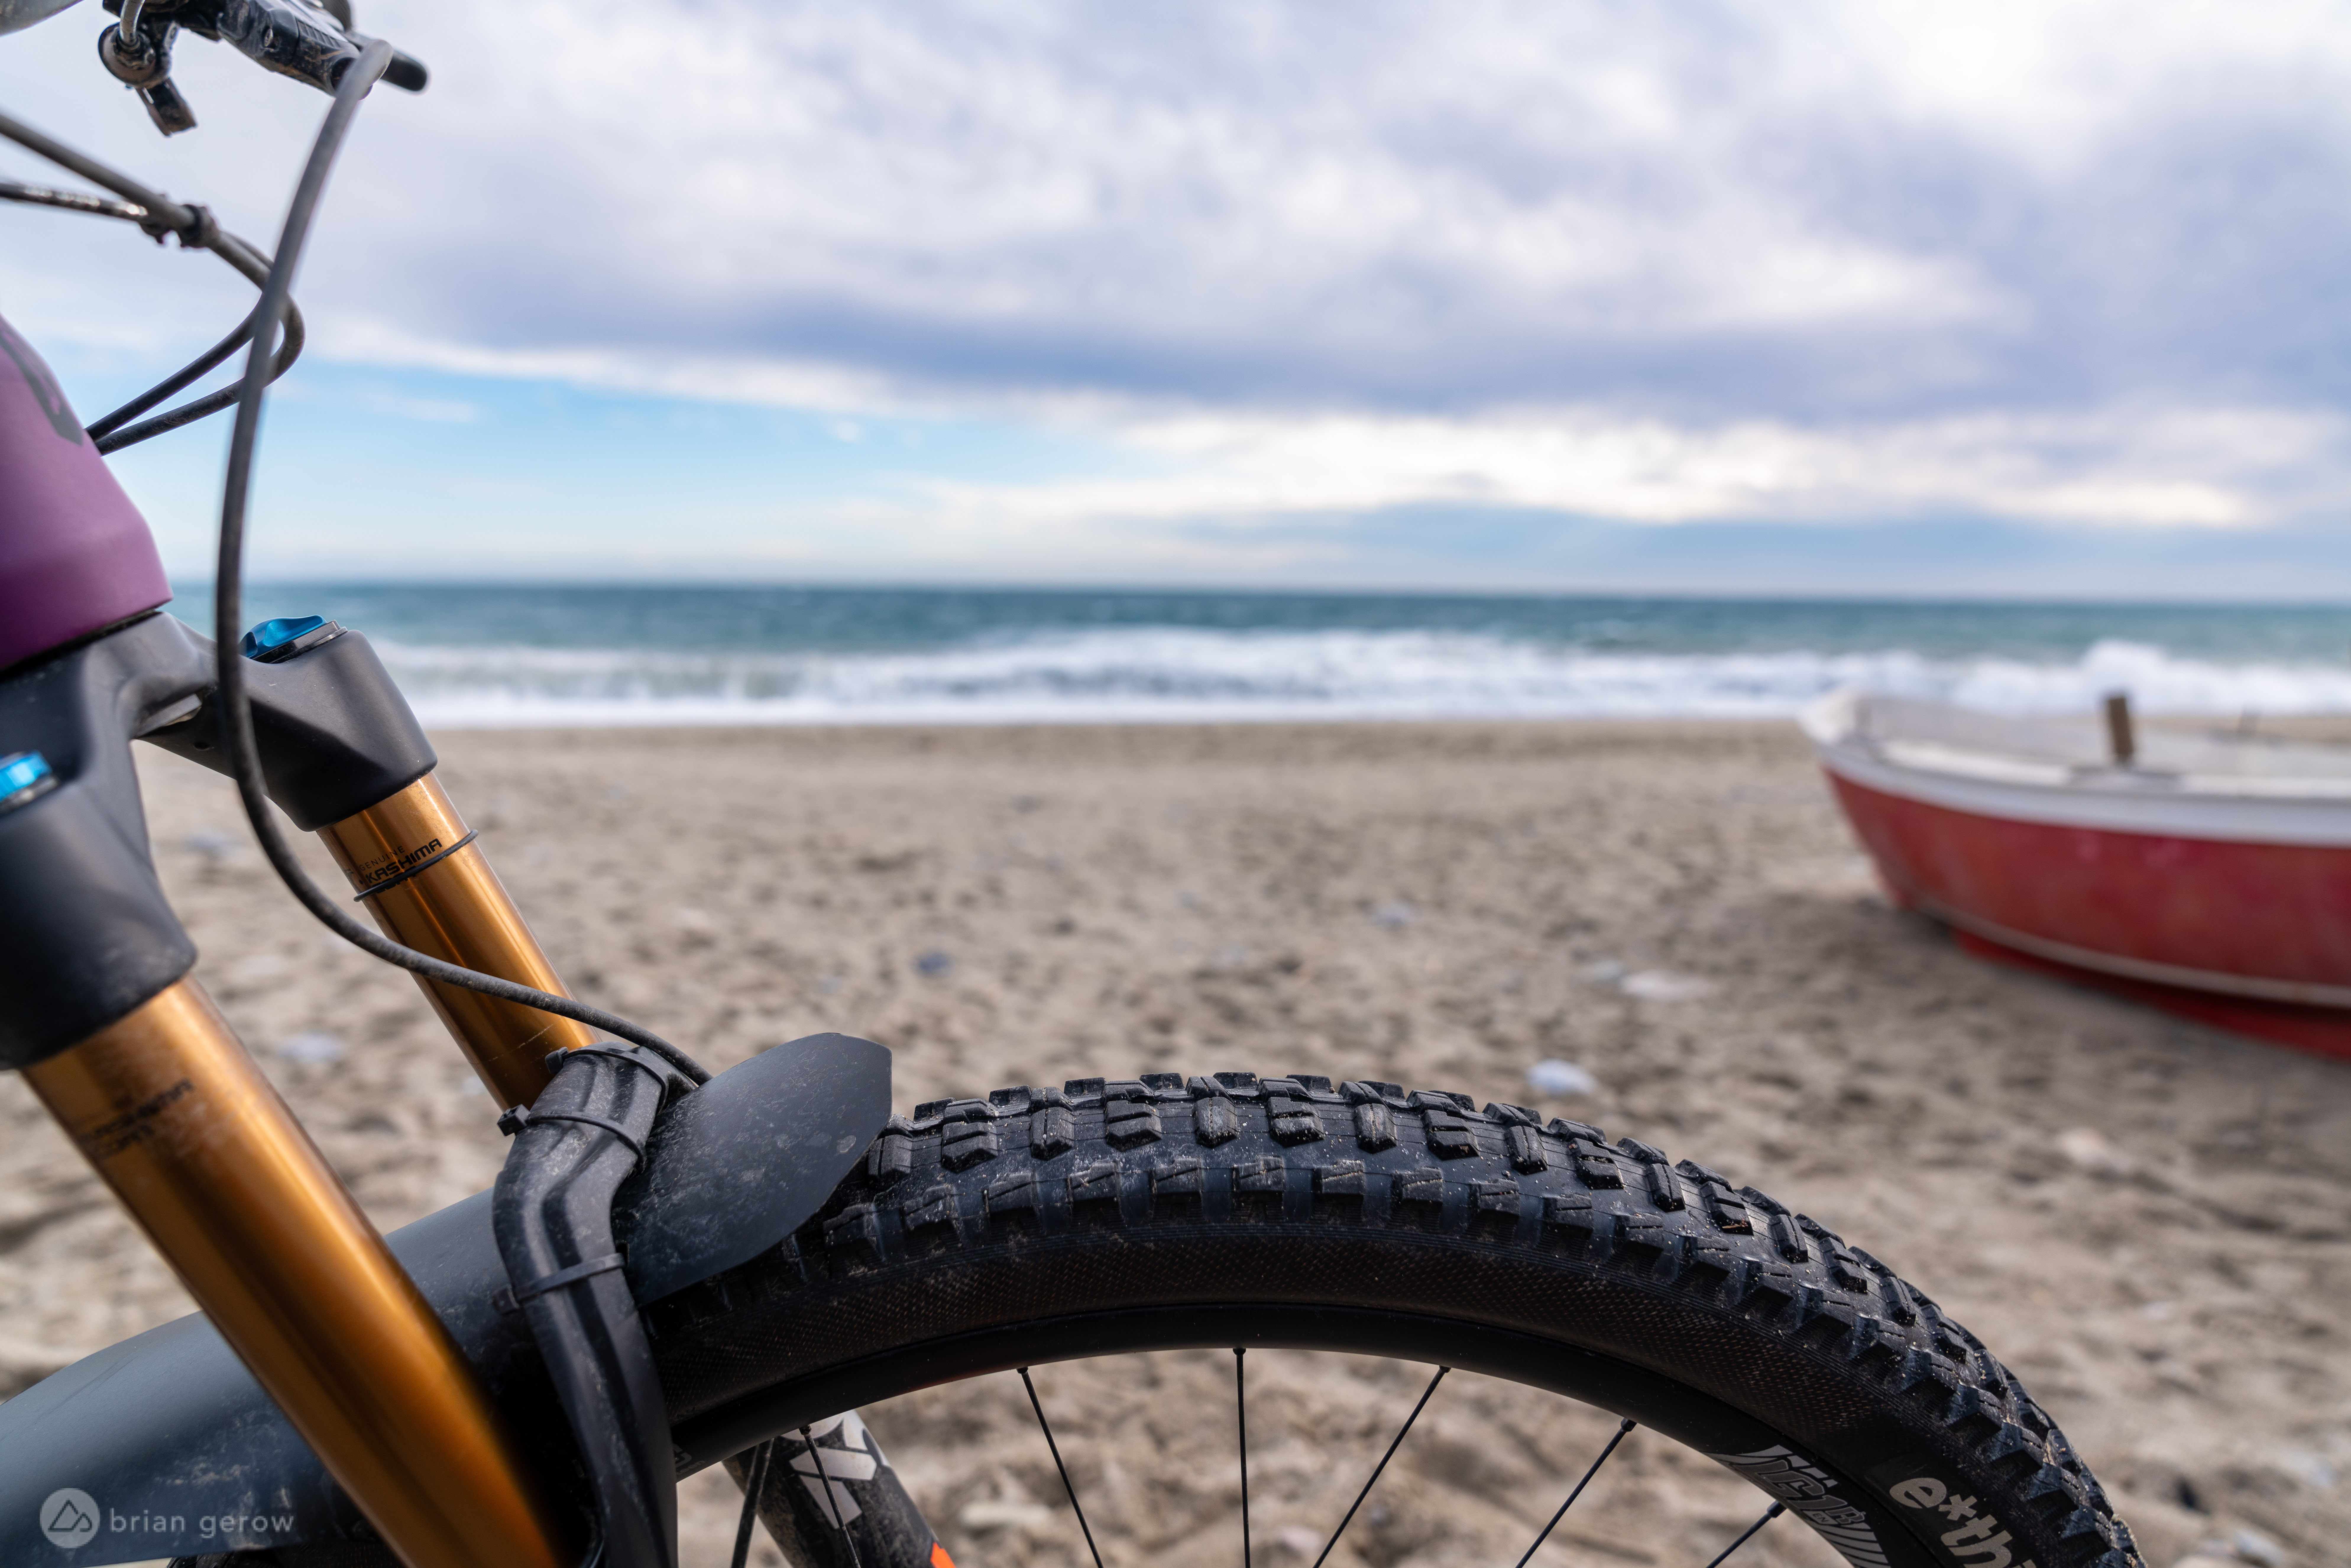
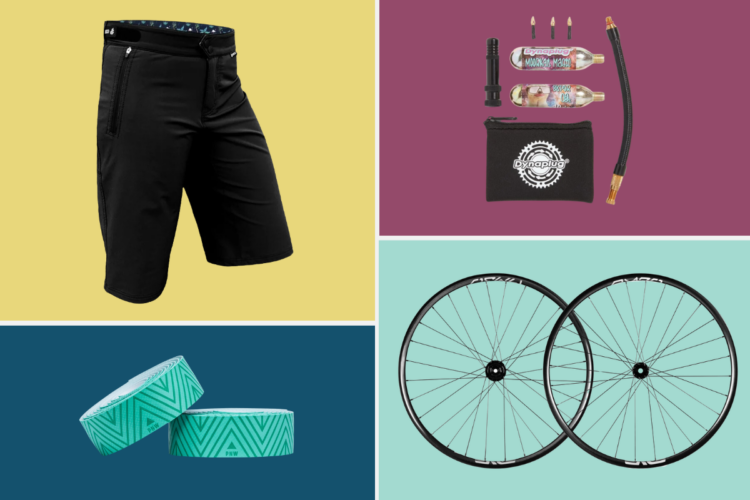
With your handy fender strapped tight, mounting a fresh mud tread up front will drastically improve your bike’s handling characteristics through the winter. Consider something with taller and softer spikes for increased grip, wider spacing between the tread to shed mud, and generous shoulder knobs to bite the turns more often than slide through them. While there are scads of great grippy tires out there, WTB’s Verdict Wet is a solid option for the loose and deep slop, and softer treads like e*thirteen’s All-Terrain tire, Continental’s Der Baron, or Schwalbe’s Magic Mary work well for more “all arounder” wet riding.
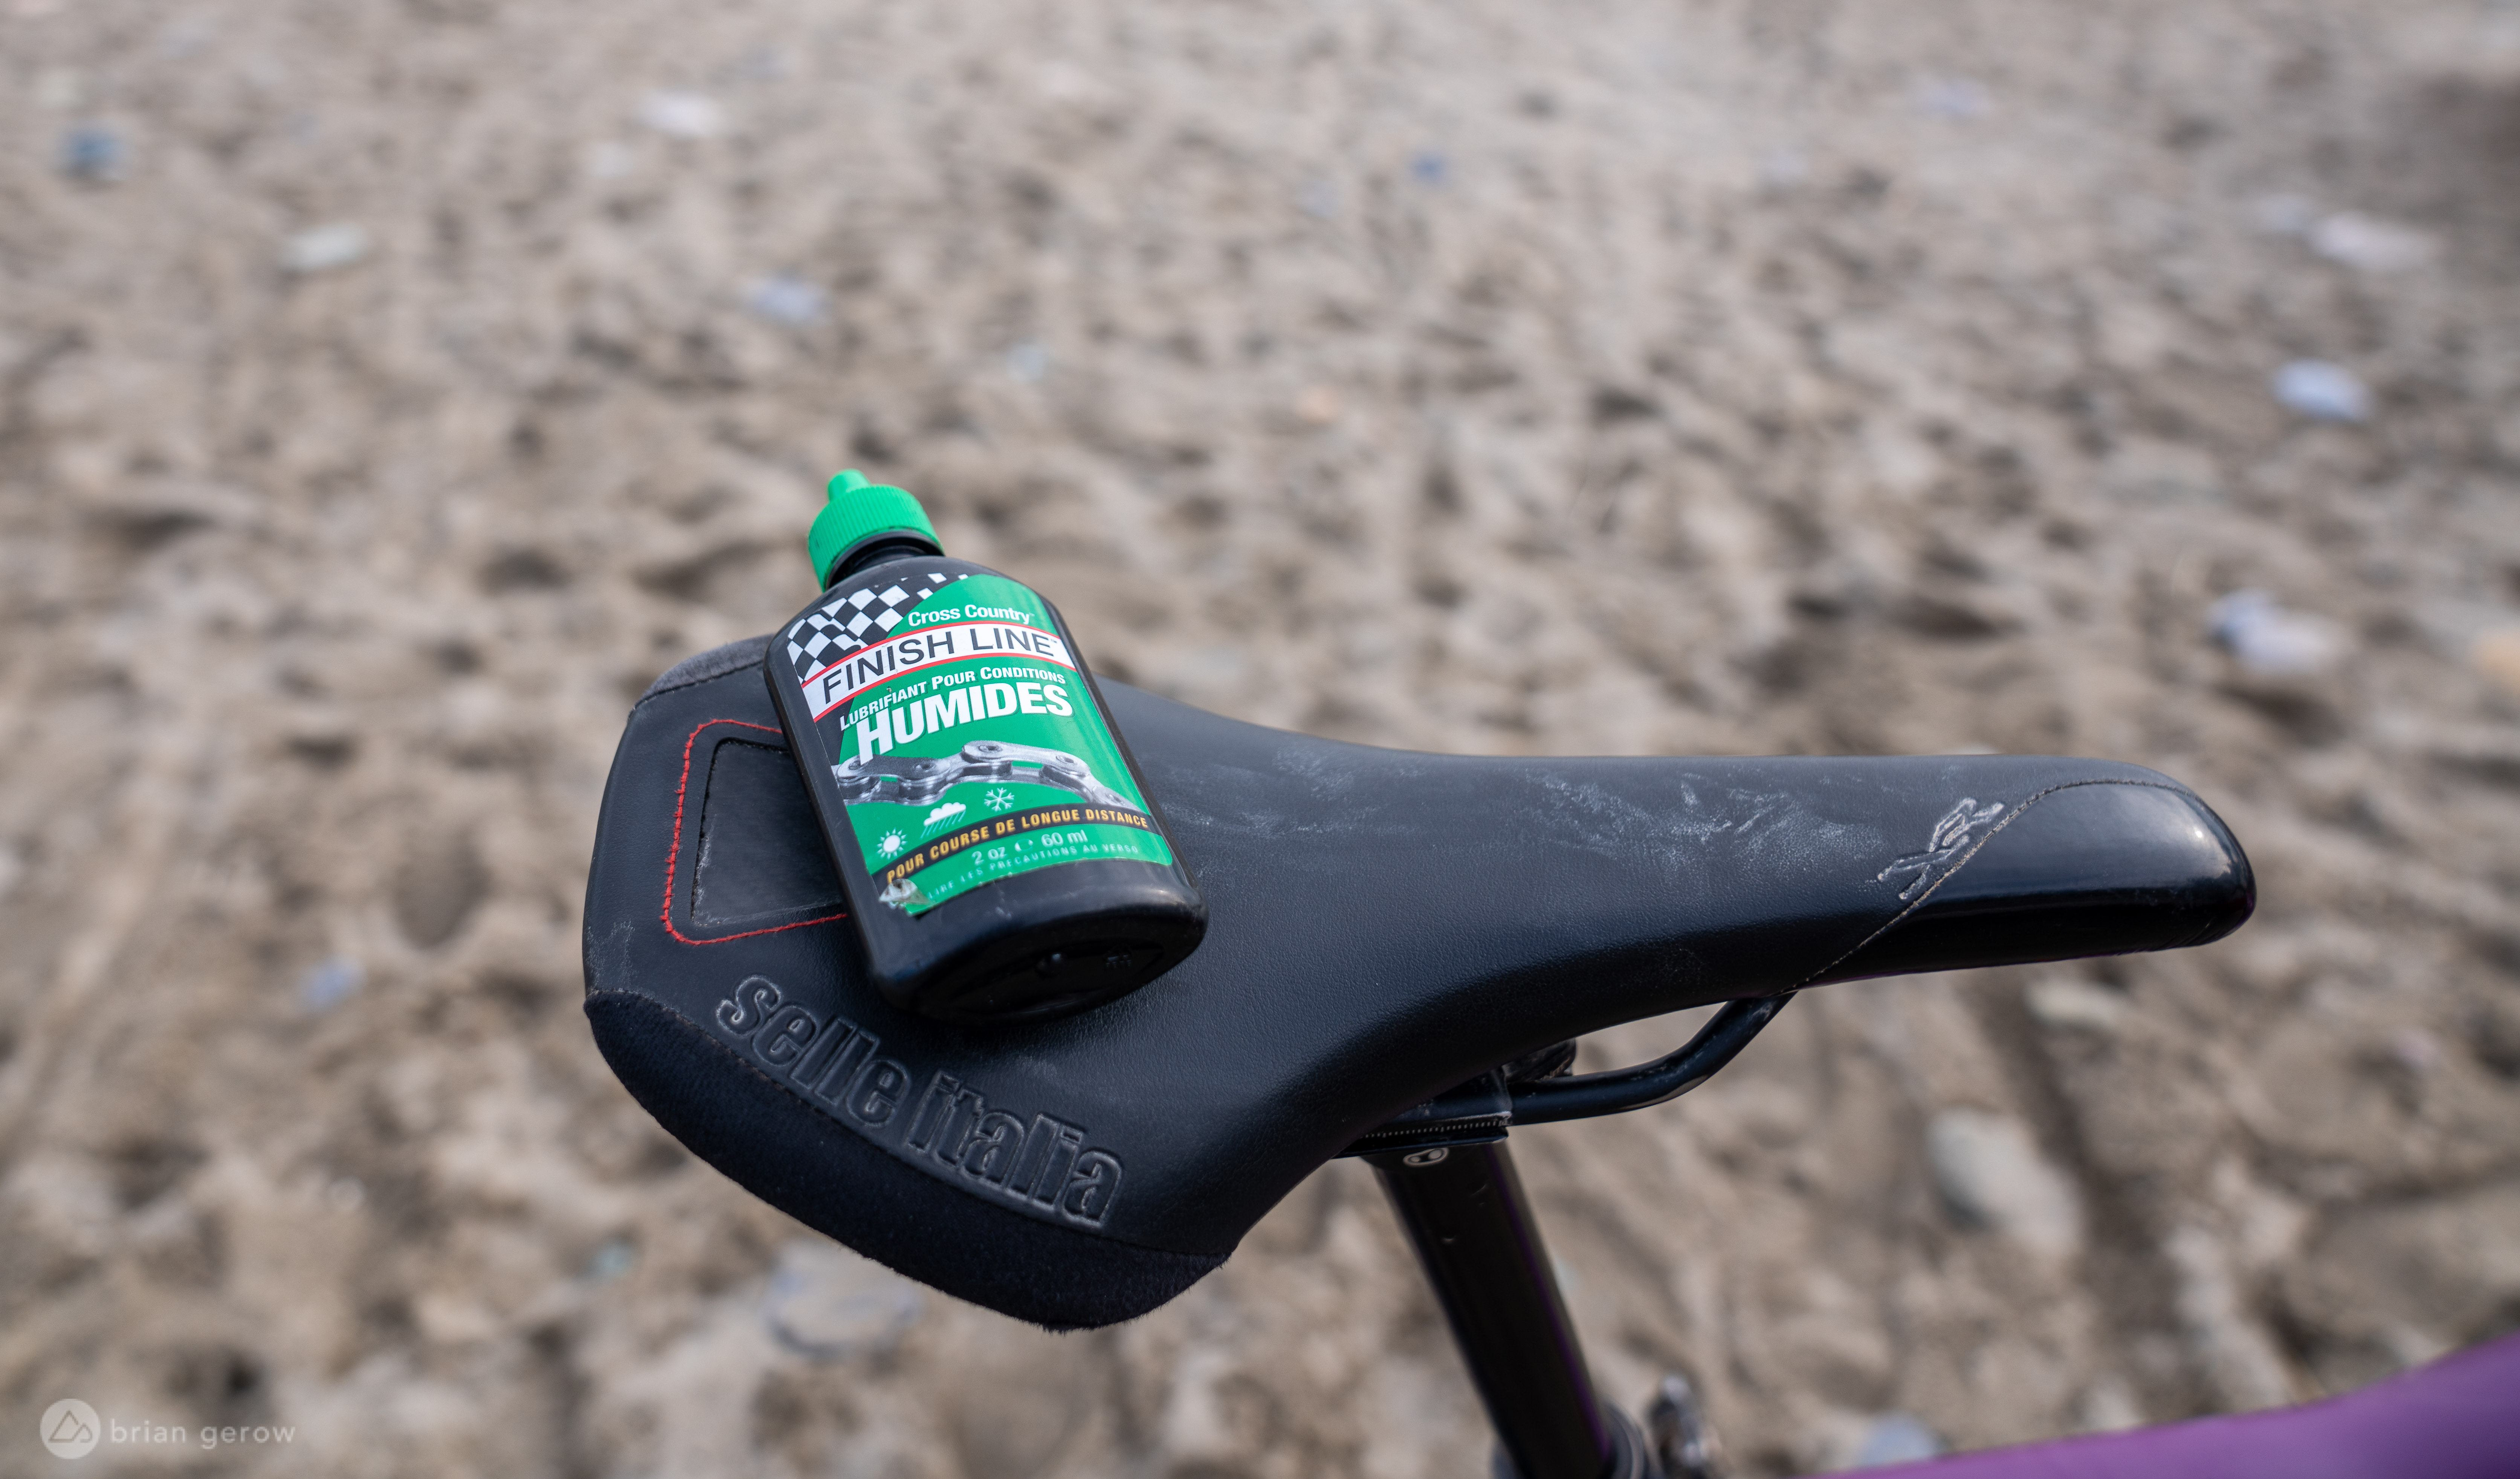
Given the constant cycle of fluid spraying up from your tires, followed by water spraying the bike clean, proper lubrication is paramount through the winter. Pick up some chain lube designed for wet weather, and apply as instructed. Wet weather lubes are thicker and more tenacious, clinging to your chain to keep it functioning properly throughout your ride. Some chain lubes claim to clean while they lubricate, and if you’ve found one that truly cleans your chain while you ride, please share that magic with everyone in the comments section below.
Along with proper chain lube, all of the bearings in your bike need to be inspected before you plunge into the deep unknown. If your bottom bracket is dry from the summer’s lengthy spins, you will want to rebuild or replace it. The time it takes to service your BB will be far better spent than walking your bike out of the forest because the bearings finally seized two hours from the trailhead. After you have investigated the BB, check the headset, wheel bearings, and pivot bearings or bushings. If they feel dry or crunchy, it’s best to swap them out with a fresh set that’s packed full of grease.
Think through all of the bits on your bike that you regularly tighten and loosen. Your through-axle bolts likely come to mind first. If you grease their threads you will have an easier time loosening them with cold hands, and they can more accurately be tightened without the risk of the bolt seizing in place. Maybe you regularly loosen your seat post to share your bike, or your stem bolts to swing the handlebars sideways for a better fit in the garage. Wipe a dot of grease on those threads as well.
On a lot of frames, the seat tube has a direct opening to the BB shell, and water can creep between the dropper and the seat tube to collect in the BB and wear out the bearings. Remove your seat post, clean it thoroughly, and add a layer of grease to keep things dry inside.
My last tip on the lubrication front is to service your pedals. Making sure they are cram-packed full of clean grease and properly re-assembled will save you the same frustrating walk as a BB service.

Finally, check your brake pads, and change as needed. If you have resin pads installed, consider swapping in metal sintered pads for the winter, and saving the resin set for drier days. Metal pads typically last longer and howl less than resin when wet. If you often ride in the mud consider throwing a spare set of pads in your pack in case you manage to blow through the braking surface on a long ride.
All of these tips will need to be repeated throughout the season, depending on how often you ride, and how saturated the trails are. Hopefully, some of these tips can help you or a friend to better enjoy wet weather riding. Do you have additional bike preparation pointers for muddy days? Please share them with your fellow readers in the comments section below.