Bikepacking has become a popular way to cover long distances for mountain bikers across the country. In some cases, bikepacking has even attracted folks who hadn’t ridden mountain bikes before, but were drawn in by the idea of ripping through scenic singletrack and carrying the essentials to a backcountry campsite.
While bikepacking beginners don’t need to have a complete understanding of bike repair, maintenance, or modifications, a few basic upgrades, adjustments, and some basic knowledge will take you a long way if you start bikepacking sooner than later.

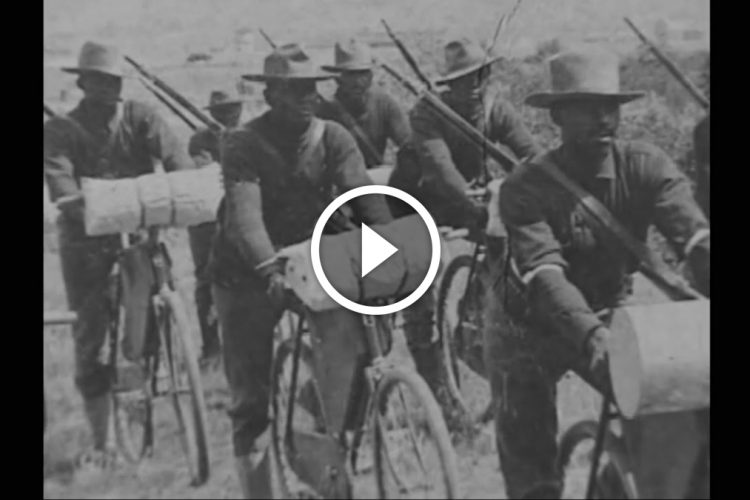
I learned these lessons on a 9-day trip through central France, where I spent a lot of time trail-side and road-side fixing my bike. Even worse, I couldn’t fully enjoy the great singletrack along the ride because I neglected to adapt my bike to the task.
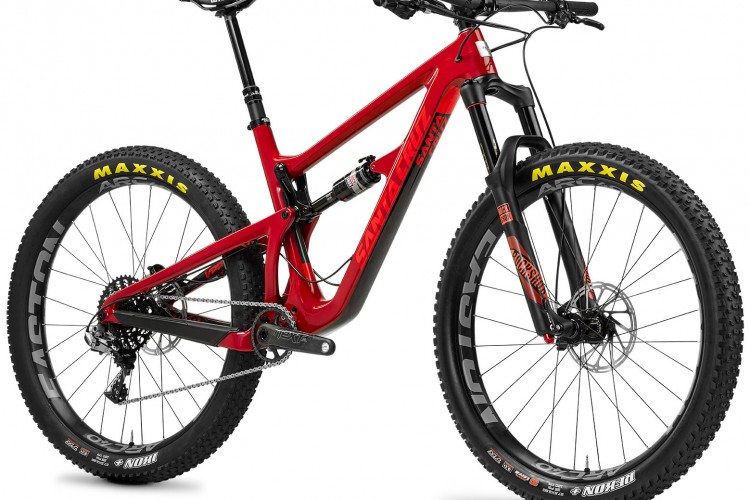
As they’ve come to say, the bike you have is truly the best bike for bikepacking. Almost any entry to mid-level bike with upgraded tires, an upgraded saddle, and a proper will take you on an adventure, but these extra steps will improve your bike’s capability to get you there, and allow you to have more fun along the way.
[see_also id=’66208′]
1. Adjust Your Suspension Fork
Before my trip to France, I had never adjusted my 100mm travel XC fork to my preferences, much less for the added weight and strain of bikepacking.
If you use a handlebar harness or a dry bag to carry gear, that extra weight is going to compress your fork and affect your confidence descending, and possible ascending. To remedy this, either talk to your local bike mechanic and get their help, or adjust the air in your fork with a shock pump (while fully-loaded with your bikepacking gear) to find an ideal range. If planning on getting rowdy, this can make a big difference between just getting to camp and having a good day of riding.
2. Go Tubeless
Many would contend that you should have already done this, but it’s really something to consider if heading into the backcountry. Riding overnighters at your local trails and forest service roads is one thing, but if you plan on taking a multi-day trip away from resupply points, you’re either going to spend time fixing flats and/or carry more tubes than necessary.
[see_also id=’215415′]
Another benefit of going tubeless: you’ll be able to adjust your tire pressure for different conditions. If sandy or loamy, you can run your tires at a lower pressure to distribute your weight and “float” over the terrain. If doing a long stretch of pavement, simply air them up and zip along the tarmac efficiently.
3. Change Your Grips
When riding around town, I prefer my cheap, round grips with a good pair of gloves. When bikepacking, it’s a good idea to switch to ergonomic grips, like these from Ergon.
A lot of bikepacking routes include long rides on forest service roads–or even pavement–so wider, ergonomic grips can keep you from damaging your wrists or the nerve endings in the palm of your hand.
Some riders opt for a Jones H-Bar so they can shift hand positions frequently and avoid numb palms, but Ergon grips are fairly cheap and work really well with your existing bar.
4. Shorten Your Stem
While newer bikes are starting to come with shorter stems, many entry- to mid-level bikes still come with longer XC style stems that stretch you out.
It doesn’t seem like a big difference at first, but opting for a shorter stem will result in a more upright stance, improving control while descending and oftentimes preventing a sore lower back after putting in the miles.
While a properly-fit bike shouldn’t cause your back to be sore, it’s a common malady that can really put a damper on a trip.
[see_also id=’30732′]
5. Use Electrical Tape Liberally
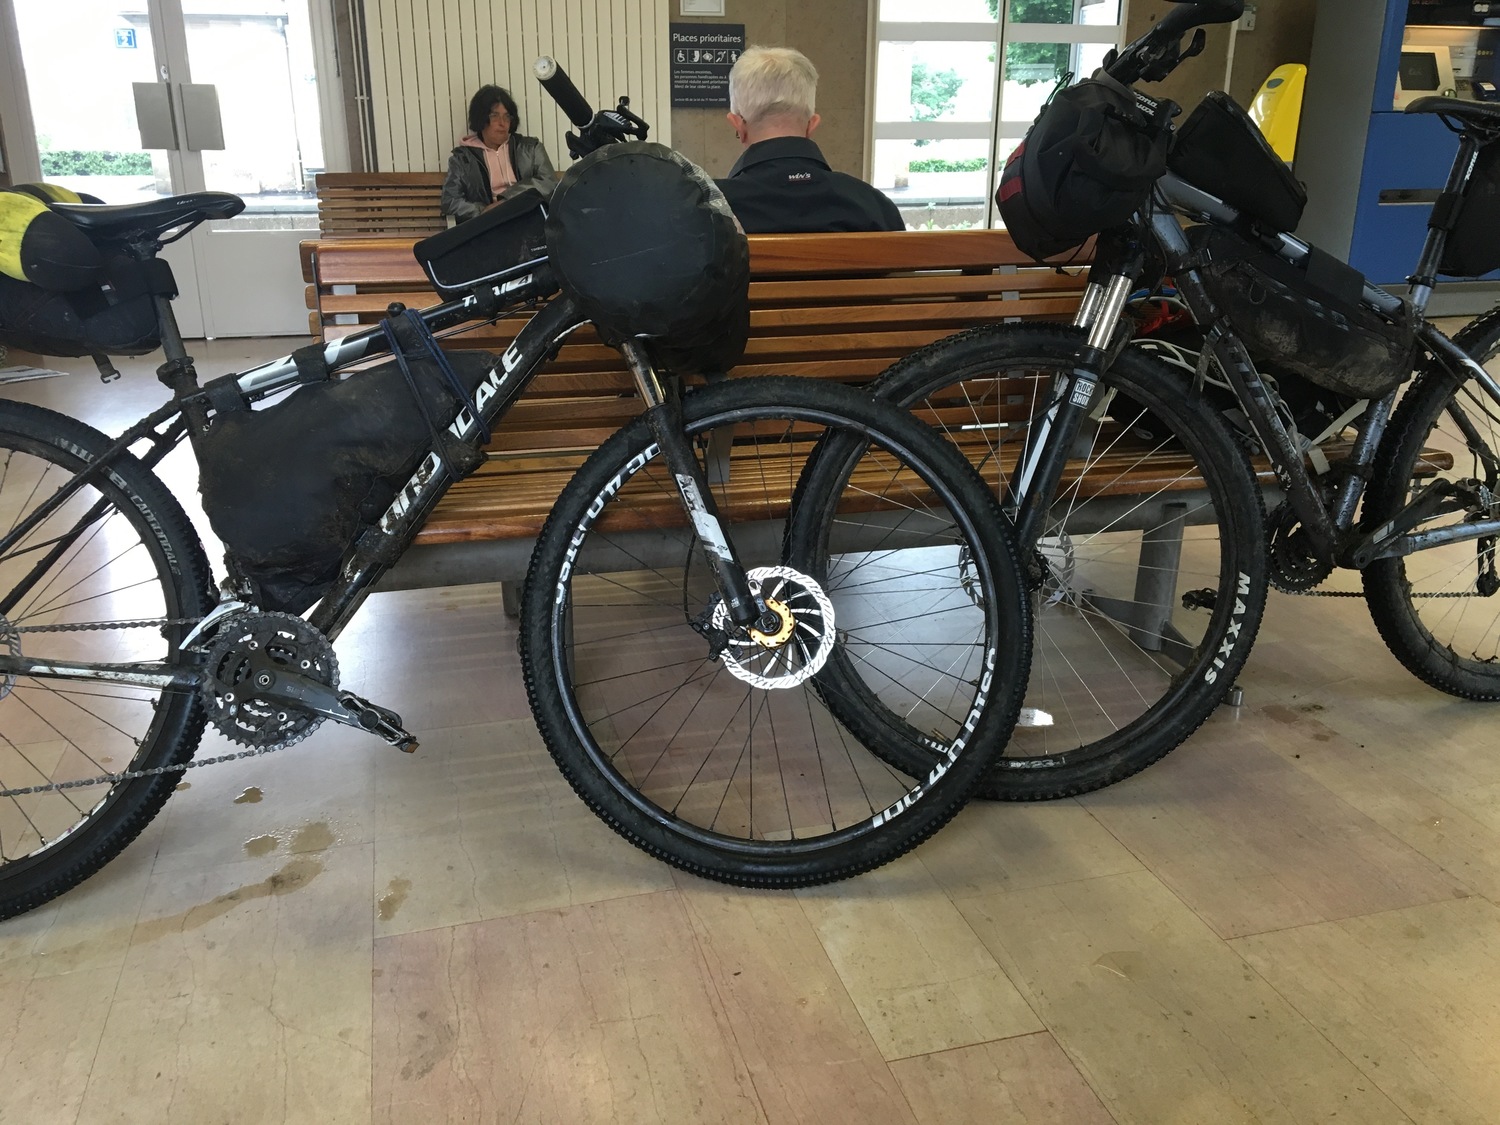
Whether you’re making your own bags, using dry sacks, or making the investment into dedicated bikepacking bags, using electrical tape on your fork and frame will protect your bike’s finish from wearing down under the swing and movement of your bags.
I did not do this, and the scratches on my bike aren’t getting any better. This is a simple fix, and can often protect the bags themselves.
For those of you who have watched Seth’s Bike Hack’s popular videos, you know that 3M electrical tape won’t leave a sticky residue when you use it as a chainstay protector, so use the good stuff wherever needed.
Where To Go From Here

While this list hasn’t discussed changing your drivetrain, adding a dropper post, or upgrading to lighter parts, you’re likely doing fine with whatever bike and components you have.
When trying to think of other ways to improve your bike for your next trail adventure, just remember that comfort and handling are the most important things to consider. Weight is a major factor, but shave ounces with your camping gear and food before trying to cut bike weight on a budget or without experience.
I took my first overnighter on a fat-tire cruiser to the back of a state park and had a ball. Stay comfy, keep it fun, be resourceful, and you’re going to find an adventure wherever you pedal.